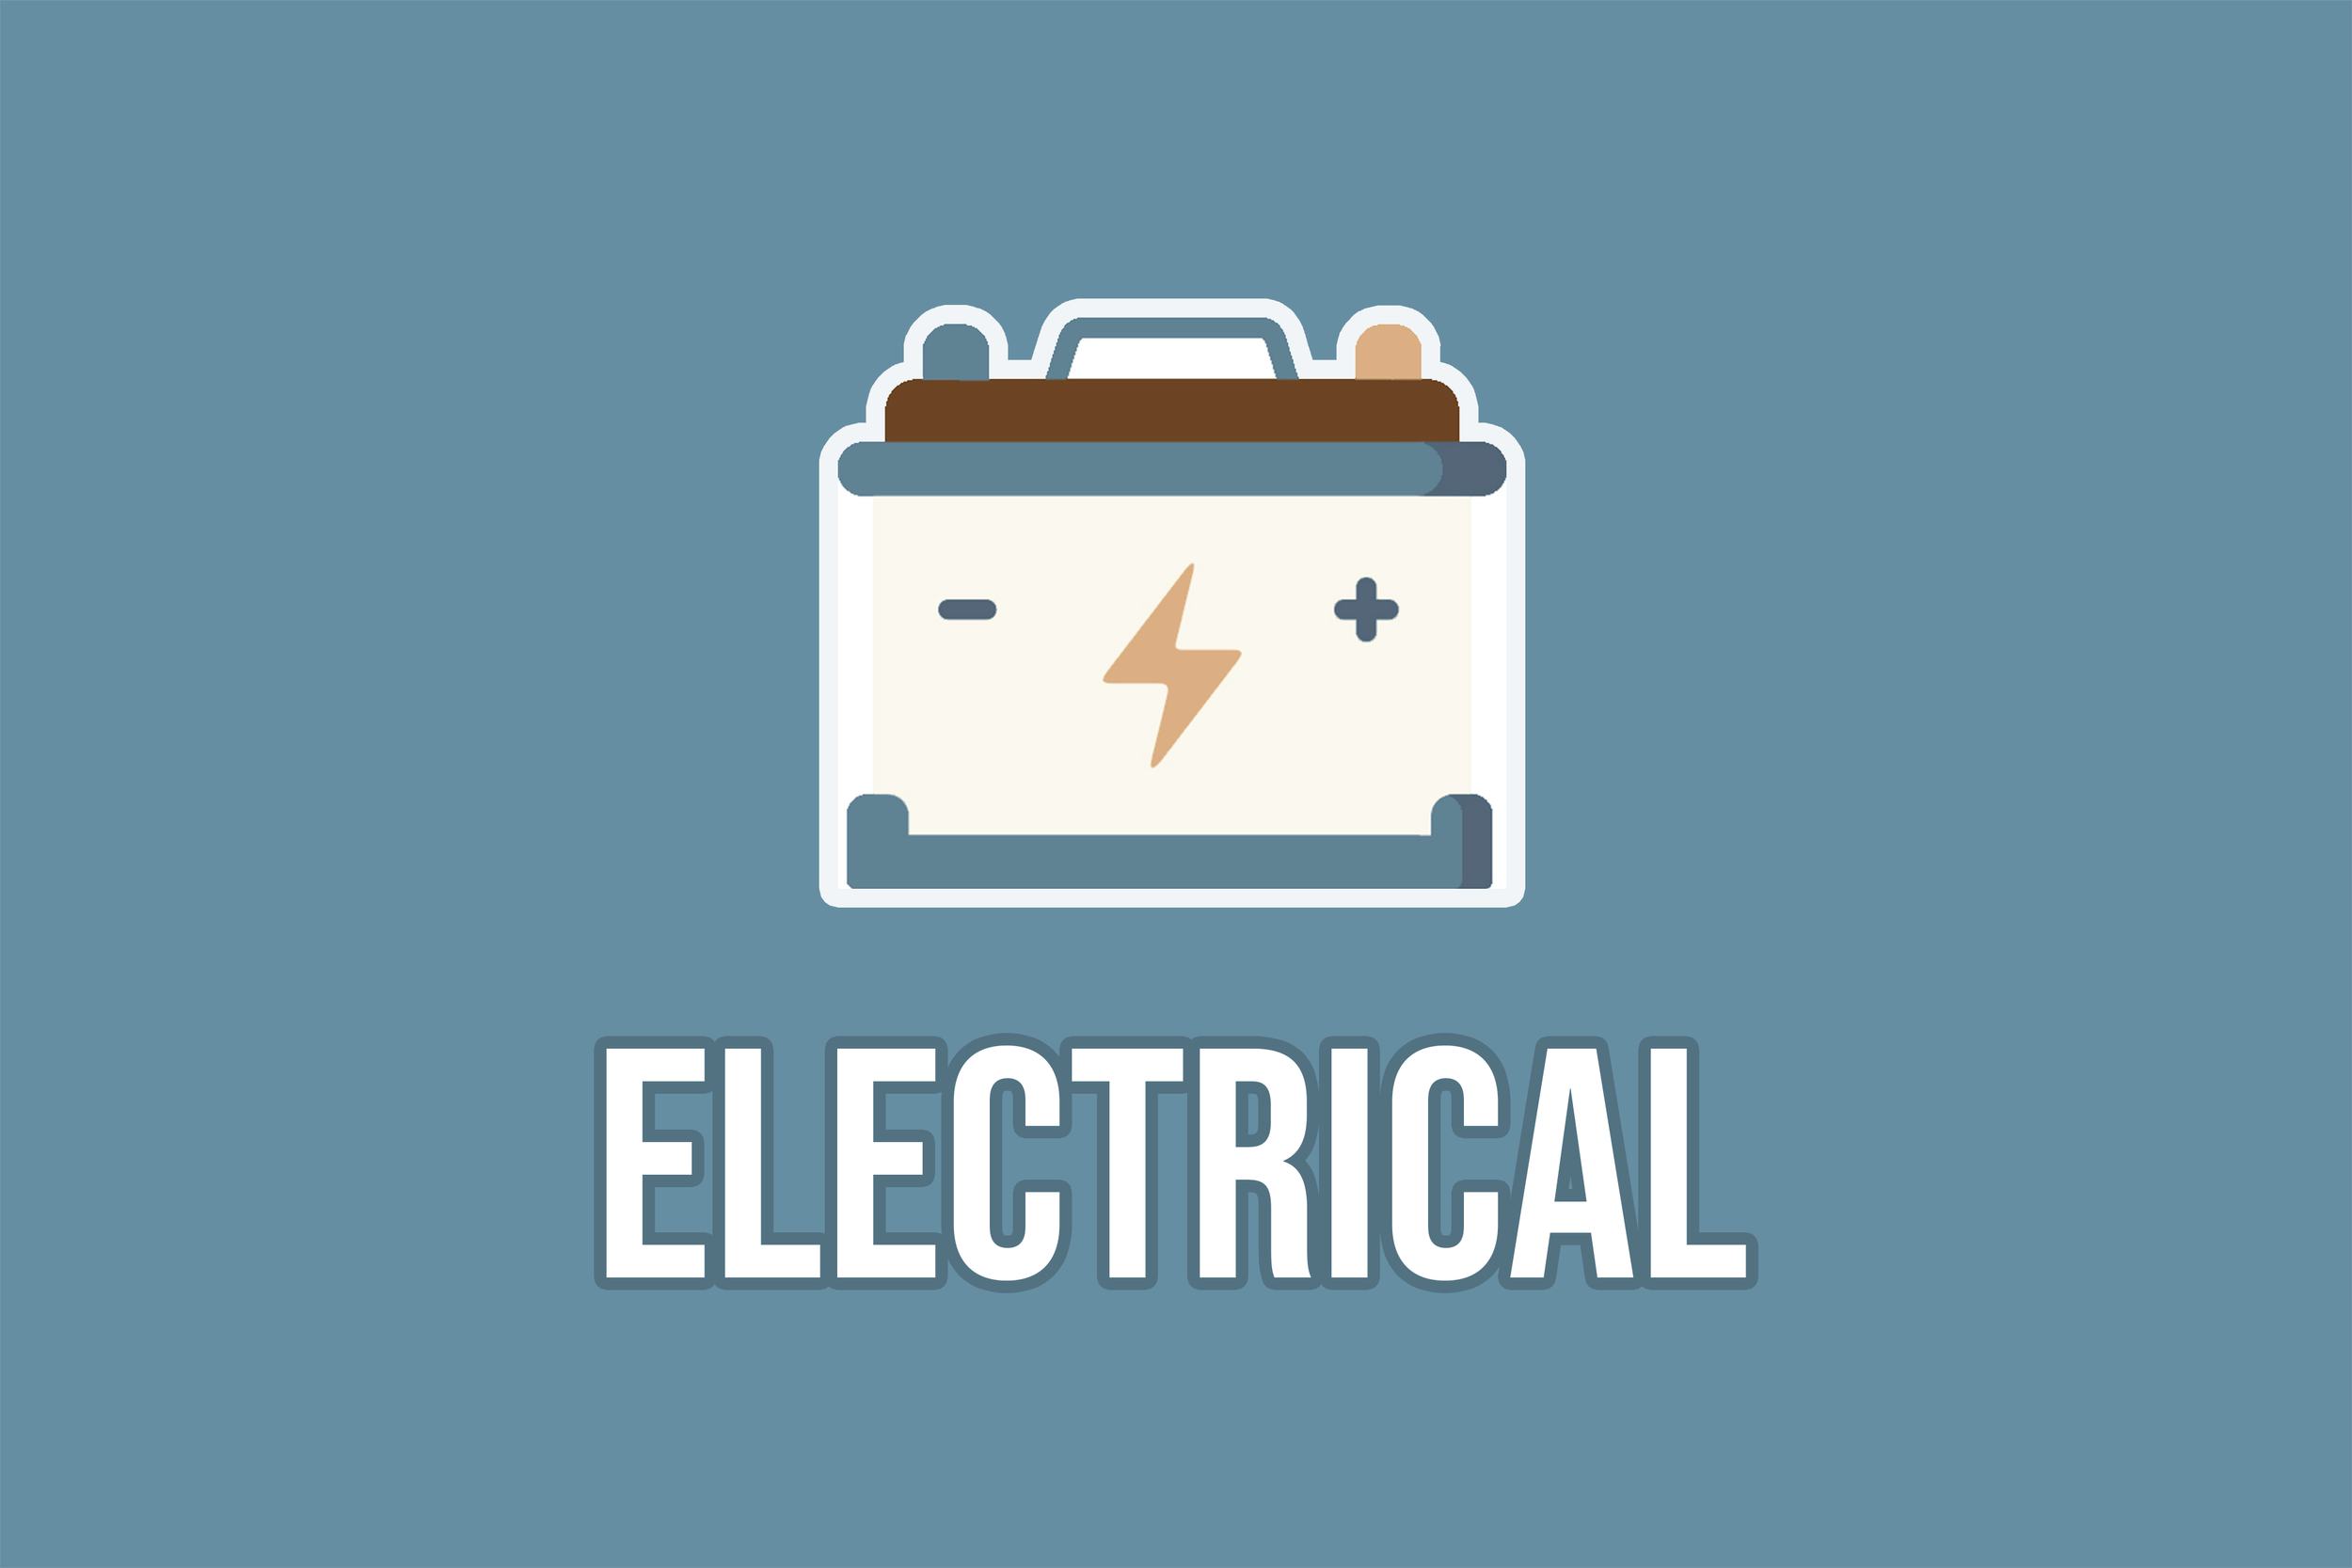
HOW TO BUILD A CAMPER VAN:
PAINT
In this section we’ll cover :
Choosing a paint
Primer
Paint types
Camper van paint ideas
Dashboard painting
Preparation
Rollers
Painting
Let’s get started.

Contents
Choosing a paint

Paint ideas

Painting
Types of paint
Preparation

Dashboard

Types of primer
Rollers
Many of the products that appear below are either Amazon or eBay affiliate links. We earn a small commission on sales at no extra cost to you.

P A I N T I N G
Choosing a paint
When choosing a paint for your camper van there’s many things you’ll want to consider.
Do you want your van to look stealthy, or plain? Do you want a pop of colour? Do you want it two tone, or with decals on the side?

Could you see yourself driving this?
You might want the exterior to match your van conversion’s colour scheme, or you might want to look up paint codes from your make and model to get an exact match, such as if you have a classic vehicle like a Volkswagen Camper.
If you’re wondering if you can paint your own camper van, get a great paint job finish and save money, you’ve come to the right place. You may have questions such as what is the best paint to use? and can I roller paint my van?
This guide will explain everything you need to know about painting your own camper van, what materials
you’ll need and all the prep work that goes into the process.
We also cover the best primers and paints for every surface and budget, and we hope this guide will help you decide on the best painting method for your project.
You can get really creative or keep things simple. We have a whole moodboard of different camper van paint ideas below which you can check out for inspiration!
Personally we just wanted to cover up the rust-white and tie-dye spray paint that we inherited with our LDV. You can see photos of how garish our van used to look in these pictures below!
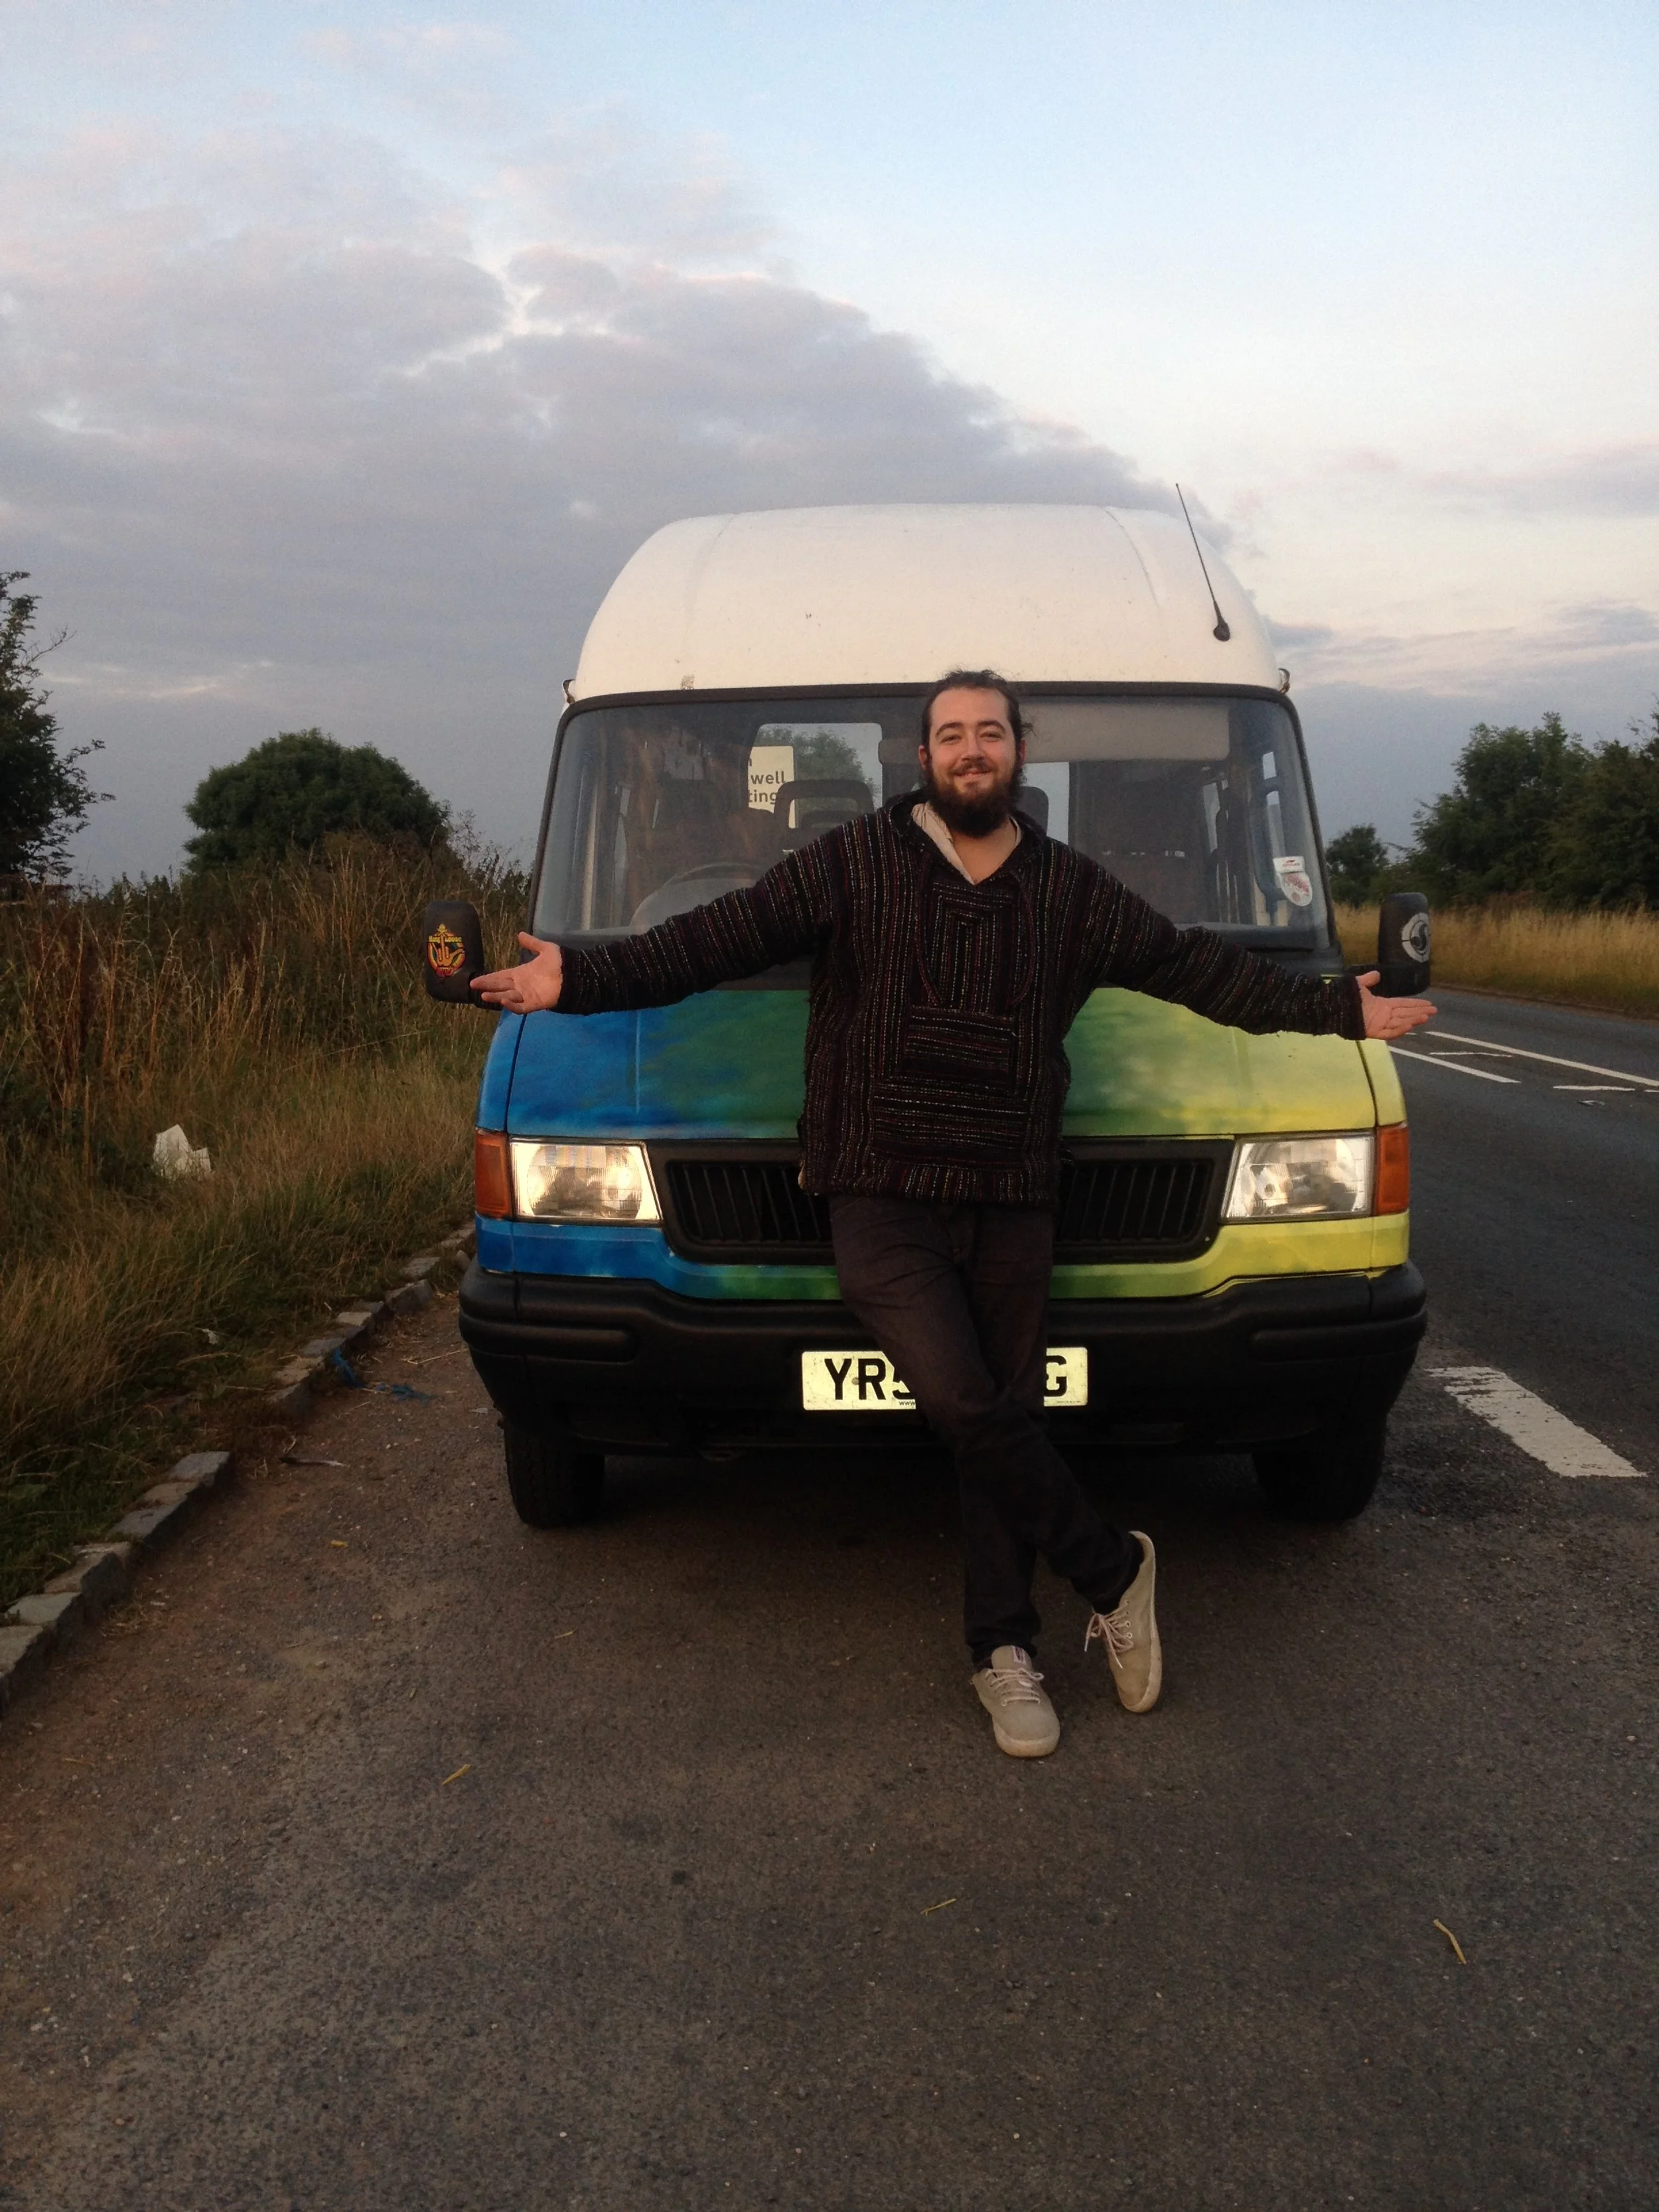
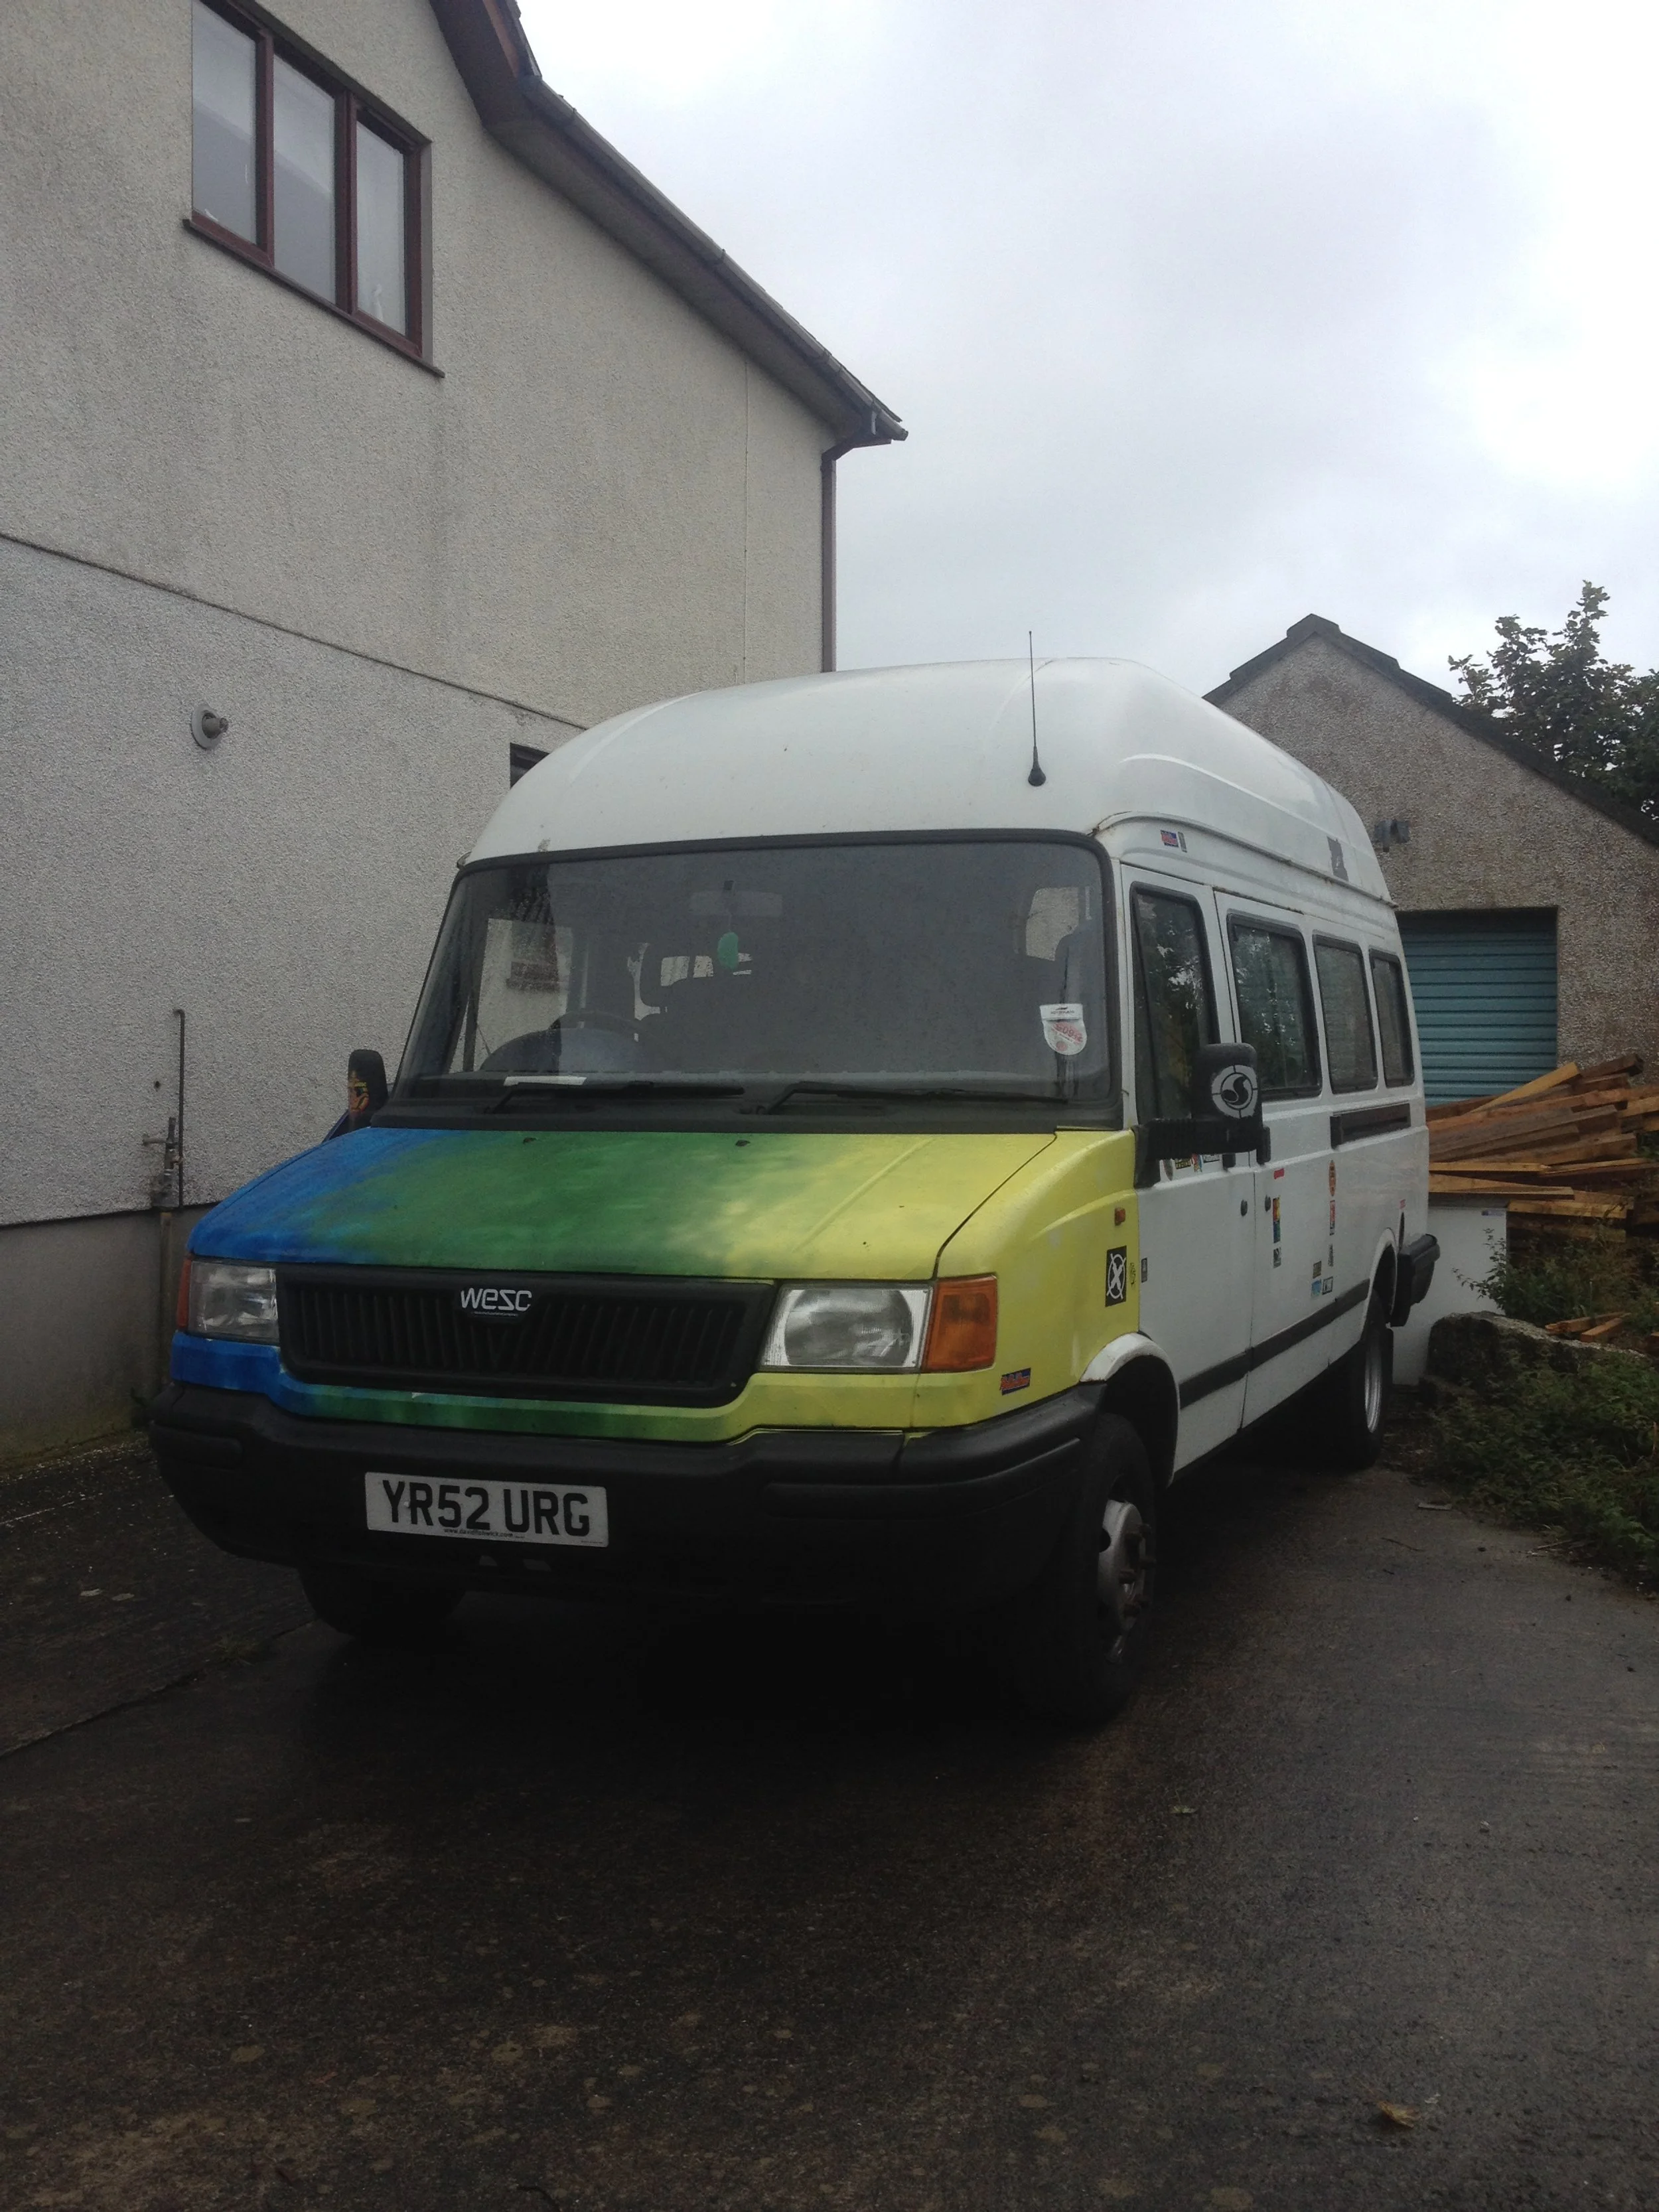
Pretty bad, huh? Rough around the edges and very unkempt. The van looks a mess too.

P A I N T I N G
Types of paint
The type of paint you use will depend to some extent on your application method. Here we’ll be detailing how to paint a camper van with a roller, rather than the spray method which requires more equipment and is best undertaken by a professional.
But if you’re looking for the cheapest way to paint a van, or simply how to paint a van yourself, then you’re in the right place.
Firstly, if you’re just looking to touch up your existing paint job, then you’ll likely want to find your vehicle’s original paint code; you can find this by looking up your VIN number, which will be on a plate usually found in the engine bay or around the driver’s door.
The paint code may also be stamped onto this plate or a plate of its own, but often this is not the case with vans, so you may have to do some Googling. Most LDV Convoys came in a rather uninspiring ice white, or Royal Mail red, not that you’d want to repaint yours in either of those shades.

We’re not here to tell you what colour to paint your van, but we can tell you the best paint to roller a van with, and the rough cost of a van paint job in the UK.
TOP PICK
Enamel coach paint

PROS:
+ Cheapest option
+ Easy to apply with roller
+ One coat
CONS:
− Non-gloss can fade over time
COST:
Approx. £19 for 2L of paint to cover a large van
Enamel coach paint is our go-to paint every time for three reasons: it’s cheap, it can be rollered, and it comes in any colour you can imagine. This is a single pack polyurethane-based paint that provides a good hard-wearing finish in one coat with no need to thin.
This is the only paint we use on our LDV and our Bedford, and you only need around 1-2L to complete a job. We recommend their matt or semi-gloss as gloss paint can be a little finicky to roller with, but still doable.
OTHER PAINT TYPES:
Military vehicle paint

PROS:
+ Hard-wearing and durable
+ Easy to apply with roller
+ Protects against corrosion
+ Cheap
CONS:
− Limted colour choice
COST:
Approx. £22 for 2L of paint to cover a large van
Military vehicle paint is a great option for those looking for a stealthy paint job, or if NATO green is your vibe. Much like the enamel coach paint it can be brushed, sprayed or rolled and applies smoothly and easily in one coat.
This type of paint has been used on Land Rovers, military equipment and even tanks, so there’s no reason it won’t work fine on a camper van! That is, if you enjoy shades such as Camouflage Beige, Battleship Grey and Very Dark Drab.
Direct to metal paints

PROS:
+ All-in-one primer and topcoat
+ Good range of colours
CONS:
− Does not effectively stop rust
− Expensive
COST:
Approx. £40 for 2.5L to paint a large van
If you’re looking at painting a van with Rustoleum or Hammerite, these direct to metal paints have both advantages and disadvantages. While they do come in a range of colours and remove the need for both a primer and topcoat, they do not have great anti-rust properties despite their claims, as rust is still able to form underneath the paint. The cost to paint a van would also be higher as Rustoleum and Hammerite are only sold in small tins and generally require a minimum of 2-3 coats.
That said, there’s nothing stopping you from using these paints to roller a van, just make sure to treat any rust properly before applying.
Vinyl wrap

PROS:
+ Unique style
CONS:
− Difficult to apply
− Most expensive method
COST:
Approx. £420 to cover a large van + labour
If you’re thinking about applying a camper van vinyl wrap yourself, well then we have some bad news for you. Vinyl wrapping a van is costly, it’s difficult, and it’s bloody annoying. If you want to go down this route you really should get it done professionally to avoid bubbling, stretching and tearing.
However we did in fact vinyl wrap the windows on our van with a Stanley knife and a hairdryer, and they didn’t turn out bad at all, so it is possible. But these were straight and virtually flat surfaces with no awkward bends and trims to make, so unless you have prior experience, do so at your own risk.
Fibreglass topcoat

If you have a fibreglass roof you want to spruce up (or stop it leaking) then applying one or two coats of Topcoat fibreglass resin is your best bet. Although you can use regular enamel paint we find that the added flexibility and waterproofing element of a fibreglass coat works perfectly on vans with a fibreglass roof. This paint is sold in two parts: the polyester topcoat and a catalyst, which you will need to measure out precisely and mix into the topcoat before applying.
For more information on this process check out the fibreglass roof section of our Rust and Leaks page.

P A I N T I N G
Types of primer
Primer is an undercoat used to prepare your van for painting. It helps to smooth over rough surfaces and stops paint from peeling or soaking into bare metal, which would create a dull finish. Primer helps to resist rust and can be sanded for an even smoother topcoat application.

Applying etch primer to our Bedford CF body before painting.
You might be wondering: Do I need to primer over old paint? The simple answer is no. If your van has already been painted you just need to prep the surface area before applying a fresh coat of paint- see the Preparation section below.
If, however, you’re painting onto bare metal or perhaps treated rust, you’ll want to apply a primer first (check out our Rust and Leaks page for the best recommendations for treating rust).
There are many different types of primer, each for their own individual applications. Here’s a few of the most common types.
Acrylic primer
Acrylic primer is an inexpensive primer ideal for people who have little experience in painting. However, acrylic primer does not last very long when exposed to chemicals or UV light, and being quite a thin paint it does not have any smoothing or anti-corrosive properties, so is probably only best to even out tones in unpainted areas before applying your chosen topcoat.


Epoxy primer
Epoxy primer is a catch-all primer that can be used on most metals as well as fibreglass panels. It has excellent adhesion and is thick enough to help smooth out cracks, pits and dents, and the addition of zinc phosphate inhibits metal from rusting. These are usually sold as a two-part or 2k primer, which you will need to mix yourself in the correct quantity before applying.


Etch primer
Etch primer contains a mild acid which bites into bare metal to create a strong surface bond, preventing rust and ensuring your topcoat paint won’t flake off. This is best used on bare steel and aluminium.

Autotek etch primer - Buy here
Fibreglass primer
Fibreglass primer does what is says on the tin- it primes fibreglass panels ready for painting. As fibreglass is generally very smooth and shiny, it requires a primer to bed in, allowing topcoat to adhere to it.
Although some people recommend using etch primer, we decided to use a dedicated fibreglass primer for the panels on our Bedford.

For details on using red oxide as a primer, as well as better alternatives, check out our Rust and Leaks guide.

P A I N T I N G
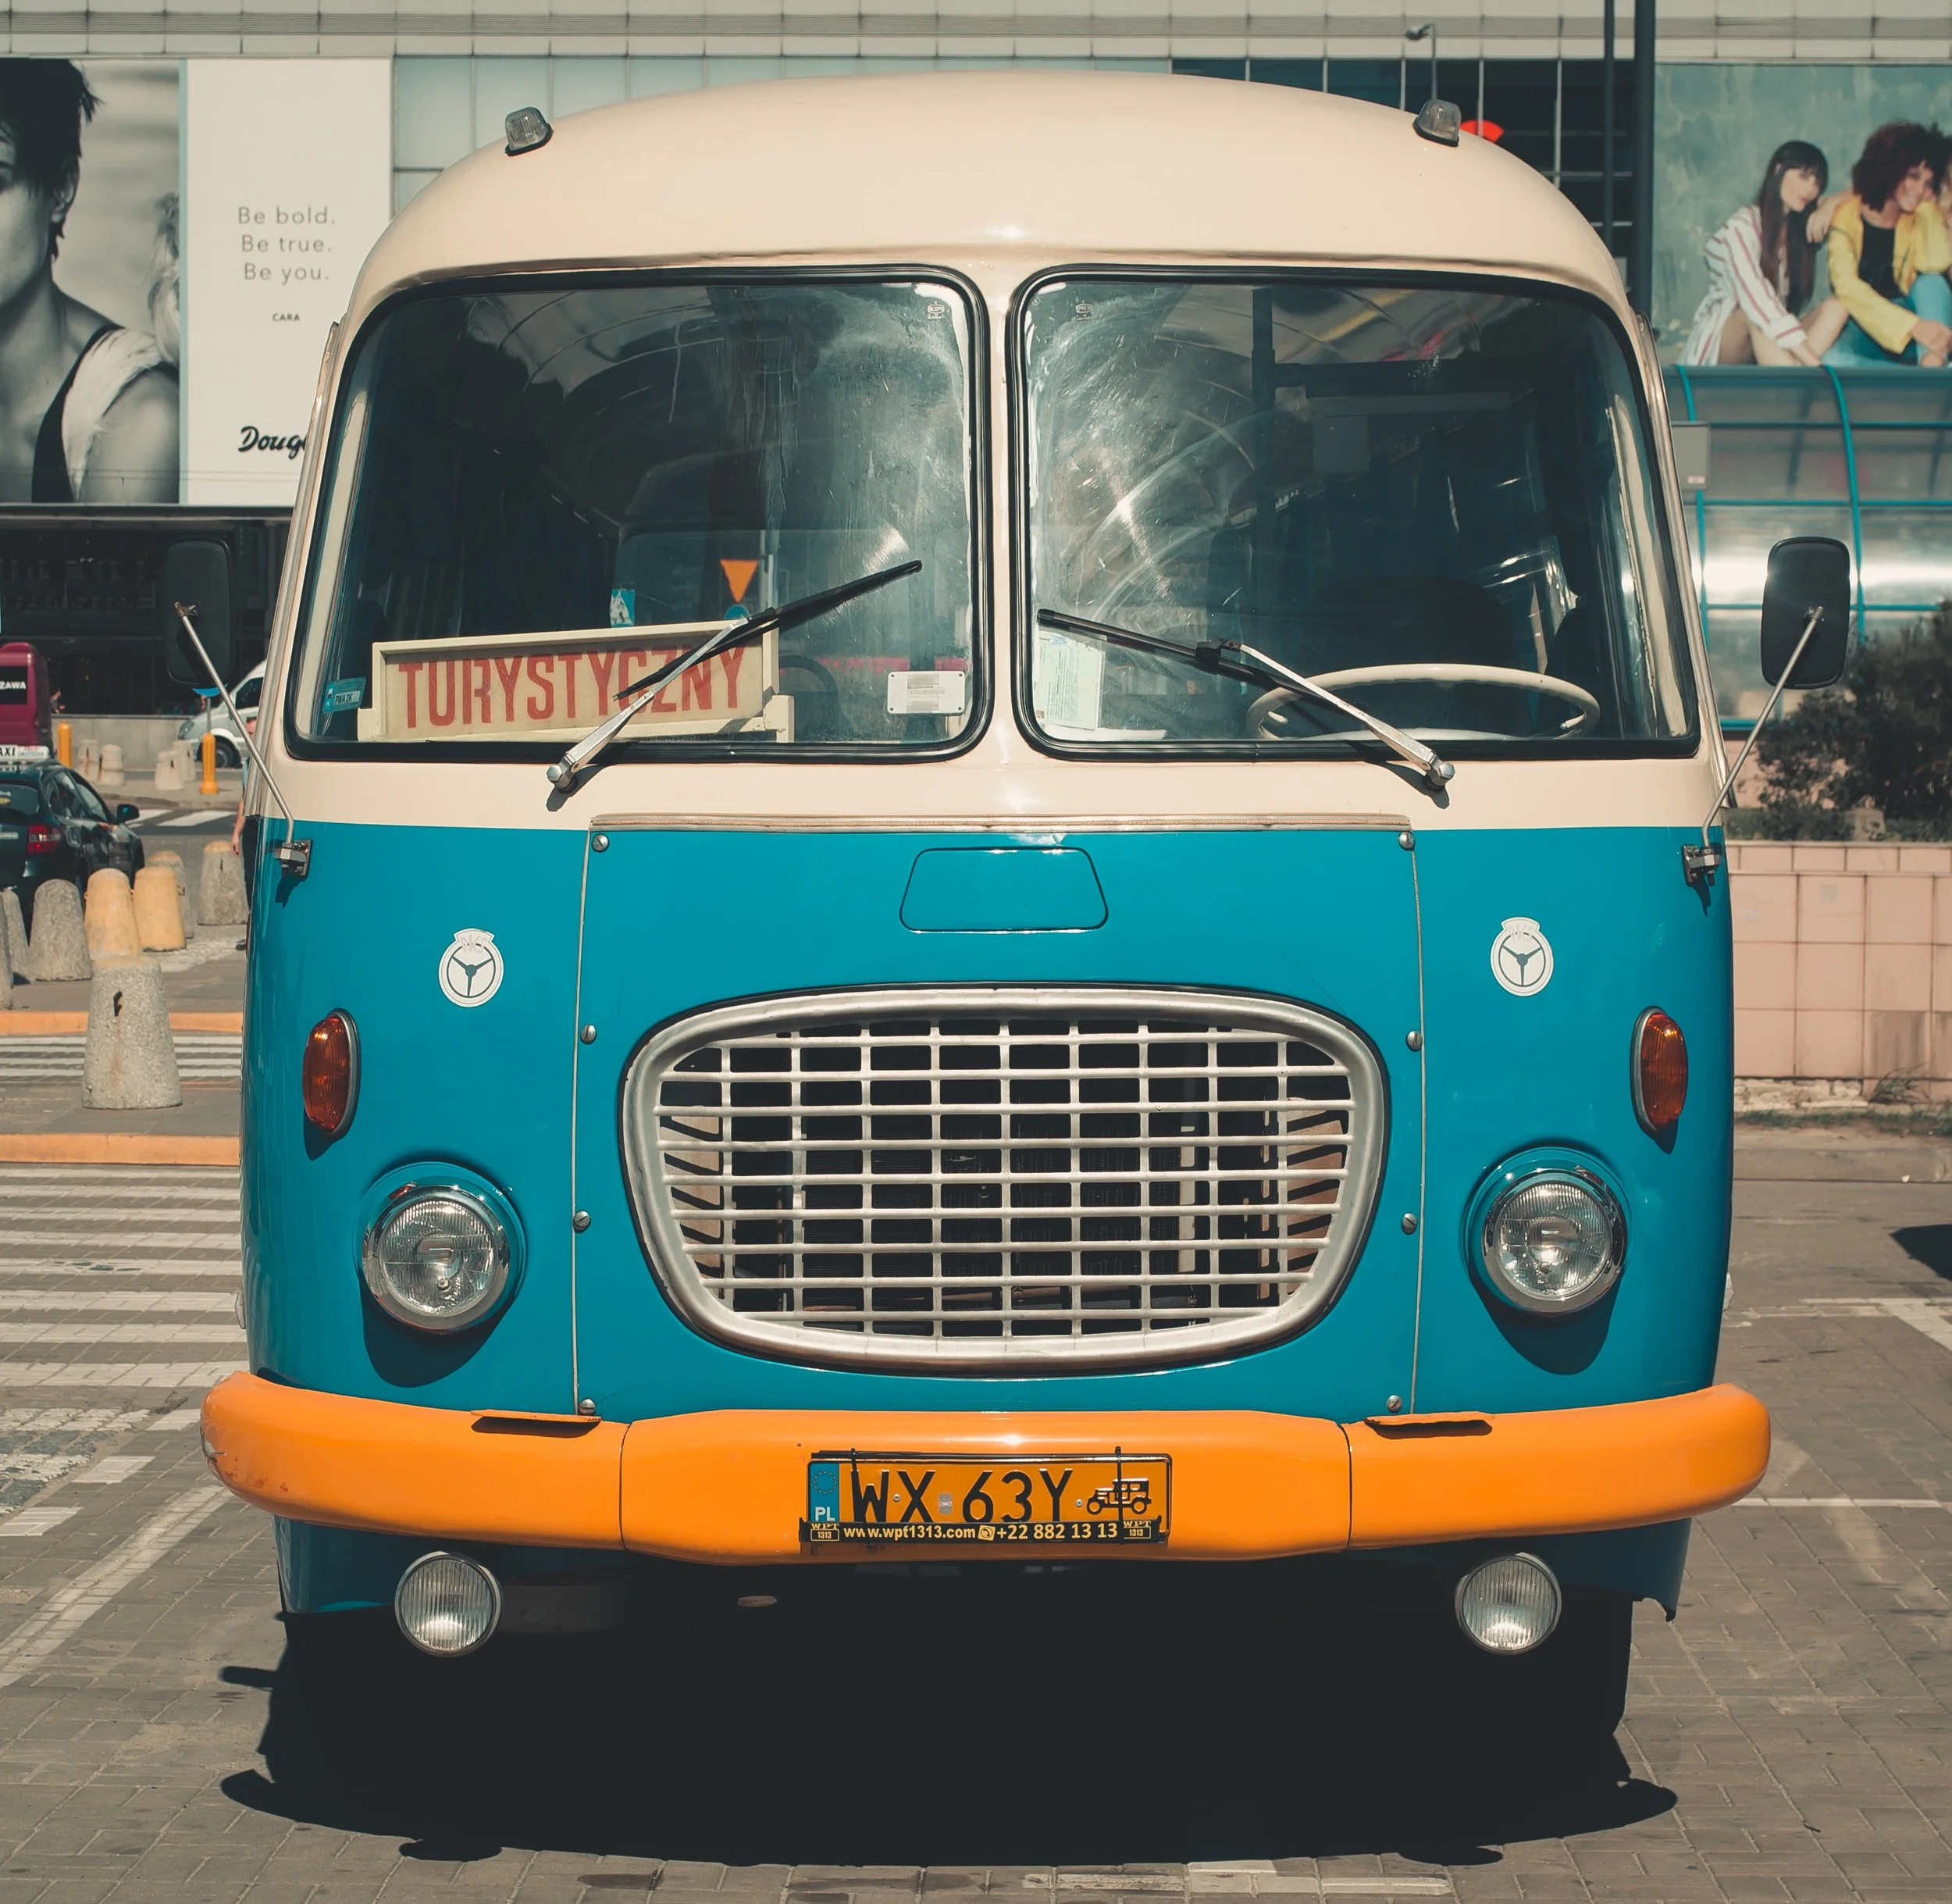
Campervan paint ideas
We’ve compiled a moodboard of some of the many styles of camper van paint to give you some inspiration for your own paint job.
Single colour


Two tone


Pattern


Retro

Bright
Just. No.


P A I N T I N G
Preparation
There are three main stages of prepping a vehicle ready to paint; Keying, Washing and Masking.

Sanding down the flaking paint on our old Bedford CF camper van.
Keying is where you scratch the old paint lightly with a fresh scourer or sandpaper to roughen it up and create texture for the new paint to hold onto, much like a primer would do. A light sanding is all you need to create extra adhesion, but make sure to wipe the paint dust off with a dry towel before proceeding onto the painting.
Washing removes any dirt and grease that may prevent your new paint from sticking, and we’ll let you in on a little secret: we’ve only ever washed our van using a sponge, an old scourer and regular old washing up liquid! It works a treat, and costs far less than car shampoo. Make sure your van is dry before moving onto the next stage.
Masking is the longest part of the process, but taking your time here will mean a better end result. There’s no science to it: grab some masking tape and some old newspaper and start covering every surface you don’t want to get paint on. We strongly recommend using a quality masking tape like this one; yes it’s more expensive, but it’s worth its weight in gold when you don’t end up tearing a thousand tiny little pieces off just trying to get one length unrolled.
Some additional considerations are to make sure it isn’t going to rain, it’s not too windy and the humidity isn’t any higher than 85%; this also means you shouldn’t paint too close to sundown, as the damp which settles in as it gets dark can make your paint bloom (go milky). If you can paint indoors then most of this won’t be a problem, but outside all of these factors can make a difference to your overall finish.
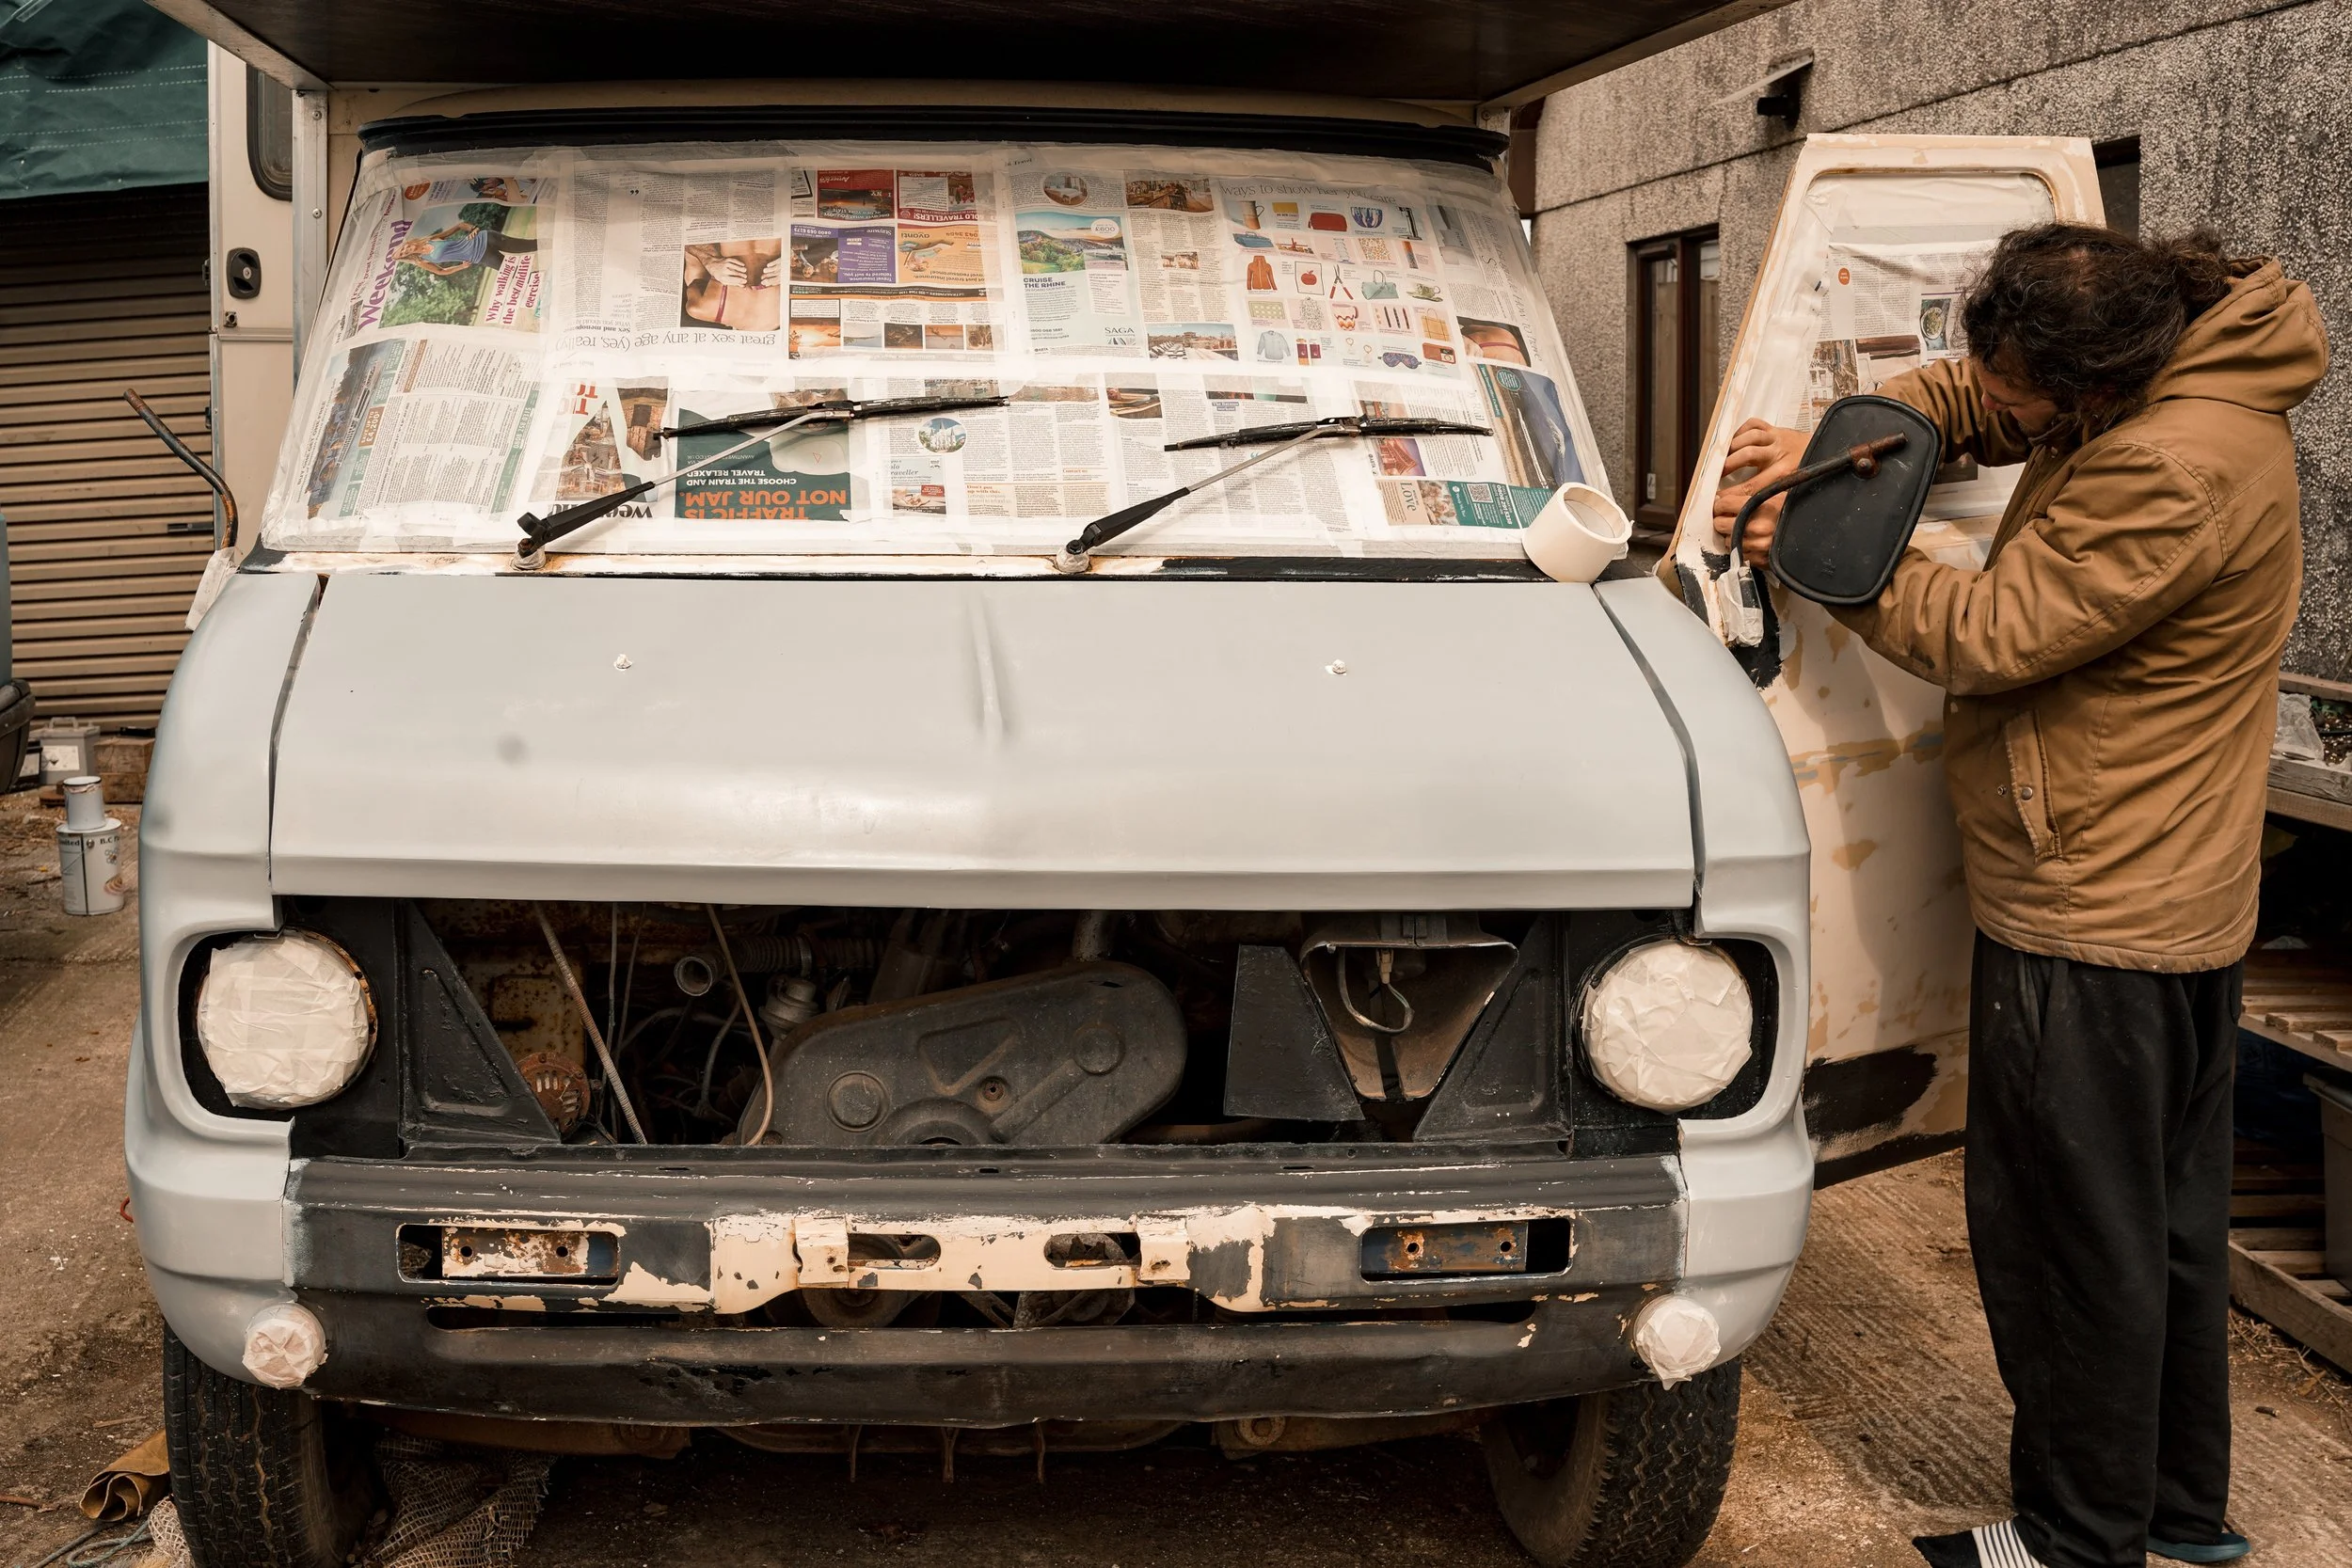
Ben masking off the windows and headlights ready to paint. The fibreglass panels have been primered.
If you’re the unfortunate now-owner of a van with a terrible paint job, your only option is to go nuclear on it. Our Bedford CF had a lovely classic cream paint job when we got it… That someone had smeared what seemed to be Magnolia emulsion all over. The paint was flaking off badly when we attempted to key, so we had no choice but to strip it all back before painting.
If you need to strip your old paint back to primer or even bare metal, the only tool for the job is an orbital sander and a pack of various grit sanding discs. Start with a coarse P120 grit sanding disc for the main stripping, then smooth this over with P240 grit, and finally finish with a light pass of P300 or P500 grit.

Sanding down the bad paint job on our Bedford revealed decades of layers of paint.
P A I N T I N G
Rollers
Roller painting is an easy way to apply paint to your vehicle, unless your name is Ben.

Tools of the trade: rollers, primer, brush and masking tape. Ready to roll.
At this point you’re also going to want to grab your rollers; we’ve found the best roller to paint a van is a simple gloss foam mini roller kit. The fine pores of the sponge create very small bubbles which smooth out shortly after applying, and the small 4” roller width allows you to tackle most areas on your van.
Our only recommendation for these rollers is don’t cheap out and buy them from Poundland; they don’t have to cost a fortune, but equally you don’t want them tearing apart and falling on the ground while you’re painting, which is really, really annoying. Especially when you get down to your last roller and watch it fall onto the ground and get covered in dirt, rendering it unusable. Don’t use emulsion rollers either, unless you want your finish to look like it was painted by a wet dog.
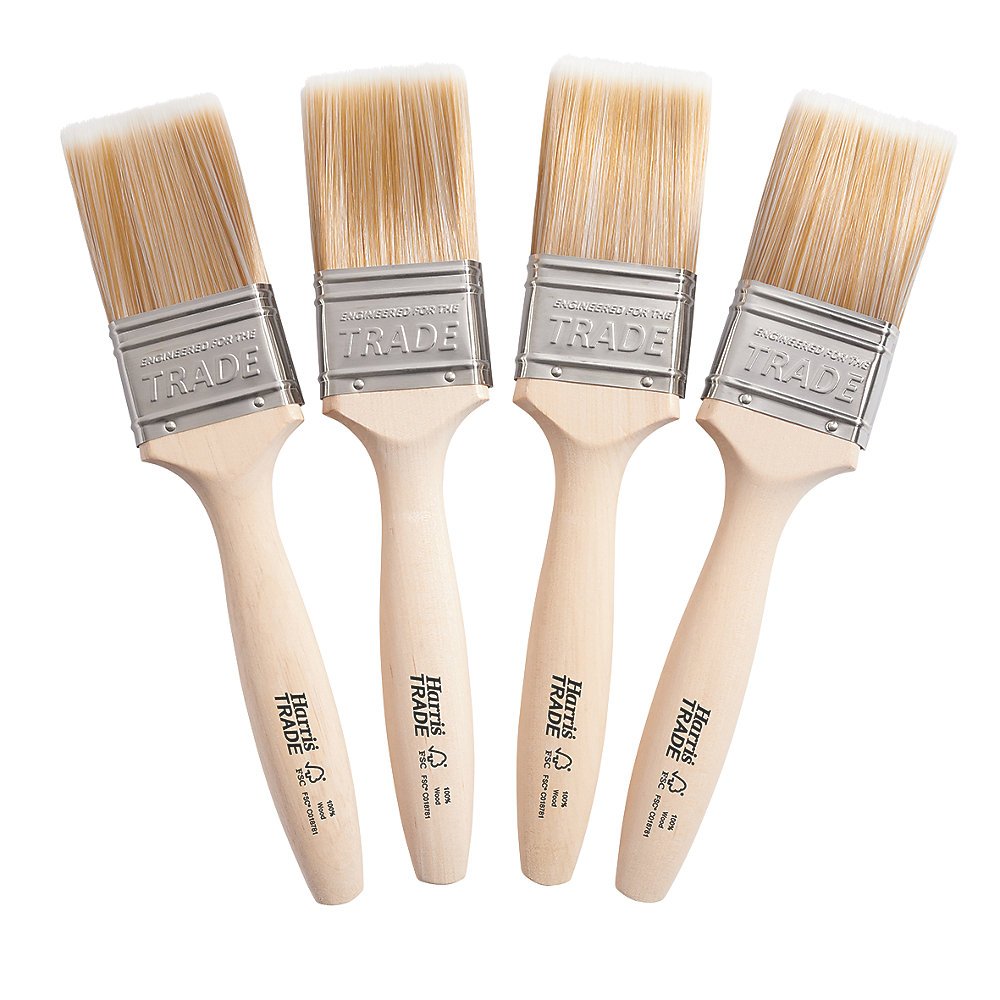
You’ll want to grab some brushes too, for the details like ending around window frames and door locks. Get some quality brushes; don’t argue with me on this, just spend a few extra quid and avoid horrible coarse brush strokes because you wanted to save an extra £2.

P A I N T I N G
Painting technique
Now we’re finally onto the good stuff; you’ve treated any rust, picked your paint, cleaned and prepped your van, and now you’re ready, at last, to paint.

We’ve found the best way to paint a van is to work on each panel one section at a time, using a brush to get into edges and small areas and then rolling as close as you can to these areas to smooth the brush strokes out. The key is to roller slowly and in small sections, as the faster you roll the more bubbles you’ll make; this is especially true for primer, which can turn into ‘candyfloss’ if rollered too quickly. Ensure that you have smoothed out any paint drips before moving onto the next area, as you’ll have no chance of doing so once the paint starts to go tacky. To achieve the most even finish pass back over the areas you’ve just painted with your almost-dry roller to slightly smooth out any air bubbles; make sure to do this before the paint starts to go tacky.
Don’t be tempted to overload your roller, as excess paint can cause an orange peel effect, which nobody wants. You can also mix in a small amount of thinner as prescribed by your paint manufacturer to help mitigate orange peel, but you’ll have to do at least 2 coats. If you do end up with drips and uneven texture, you’ll need to use wet-and-dry sandpaper to smooth these out before repeating the Prep and Painting sections for coat two.
You can watch the video on how we roller-painted our Bedford van to get a better idea of the technique.
Roller painting a van is really simple; if you can paint a wall in a house, then you can paint a van. Most of the work goes into research and prep, but if you follow this guide you’ll have a lovely new paint job in no time.

From rollering on the primer…

…to applying the final details.
P A I N T I N G
Painting your dashboard
If you’re wondering if you can paint your dashboard and cab interior, the answer is yes!
All you need to paint your dashboard is a couple of tins of Plastikote Twist & Spray, and some simple acrylic paint and brushes. Plastikote spray comes in many different colours and works on just about any material, so we’ve found it to be the best paint for a vinyl dashboard. We tried Halfords vinyl dashboard paint in the past but it always tended to flake off after a while.
You can paint your dashboard without removing it- simply mask off any areas you don’t want to get paint on (see Preparation section), although if you like you can remove any plastic panels you want to spray and do this outside.
Degrease all surfaces with hot water and washing up liquid and ensure they are fully dry before painting.
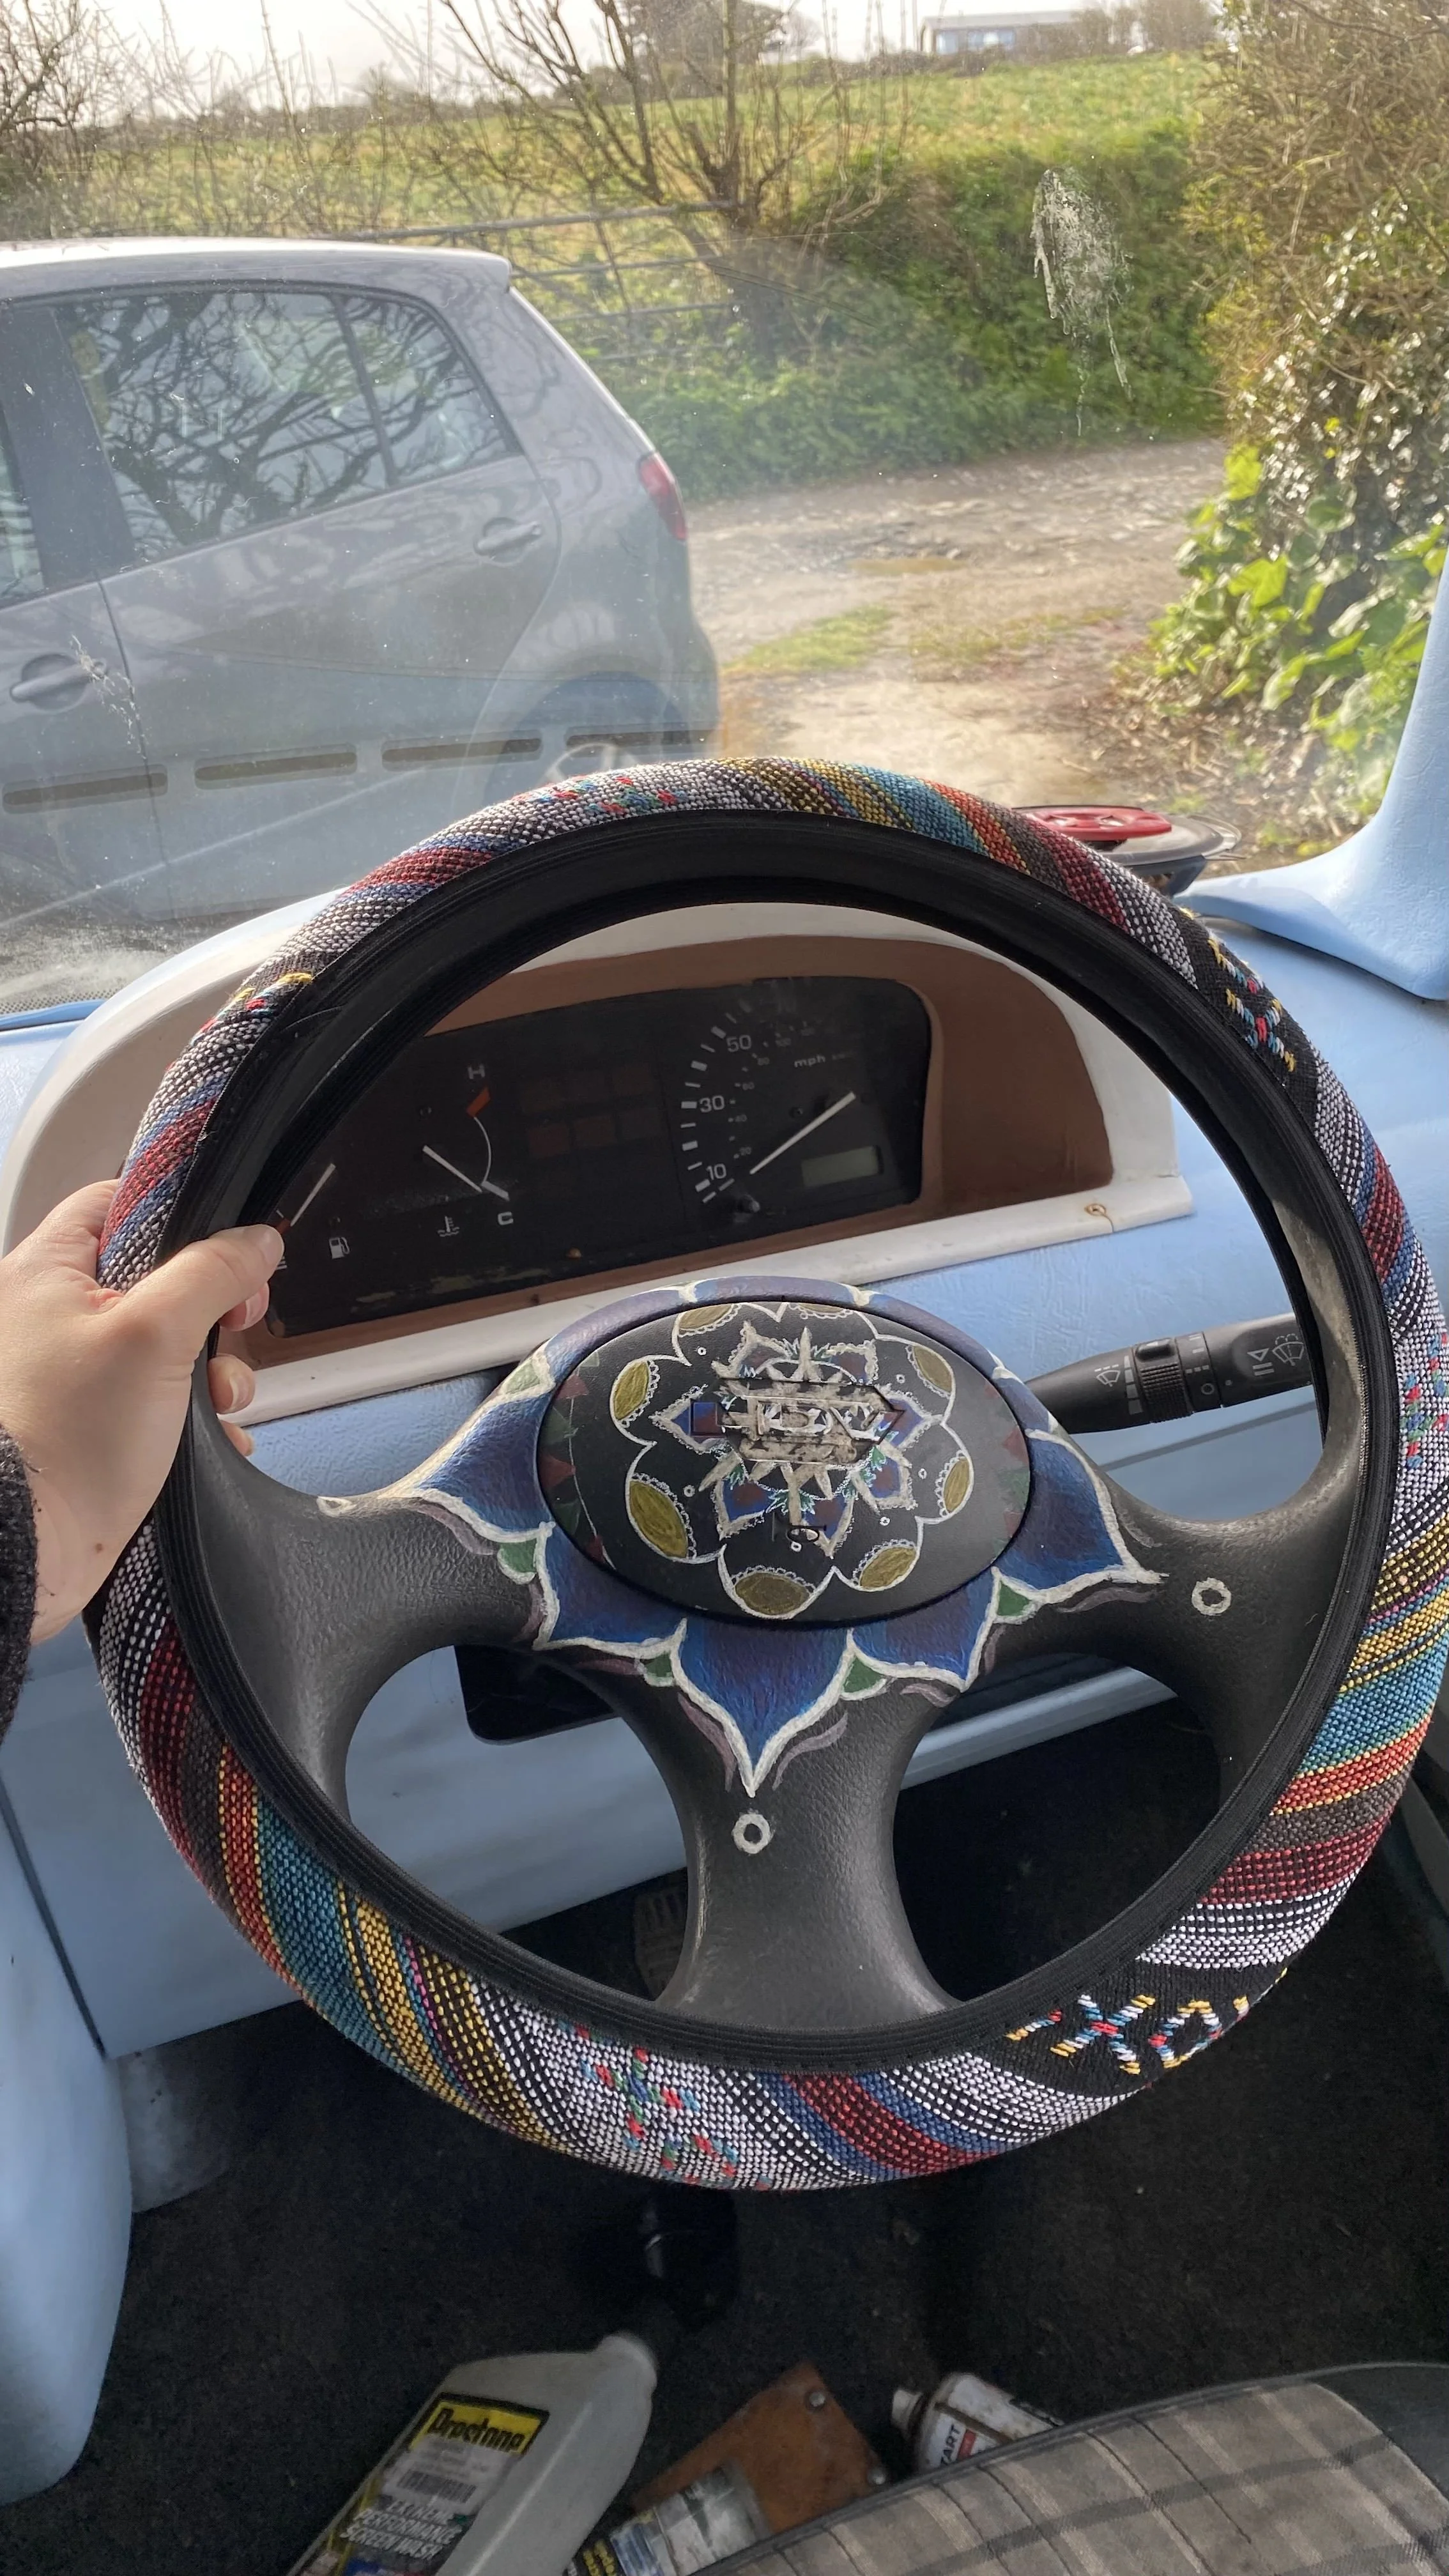
You can also use acrylic paint to mix your own colours and paint smaller areas like heater vents, window winders and even your steering wheel- go wild!
We’ve included some photos of our LDV cab below to give you some inspiration.

So there we have it, everything you need to know about DIY painting a camper van.
What’s next on the checklist? Browse our van build guide below: