HOW TO BUILD A CAMPER VAN:
I N S U L A T I O N
In this guide we’ll cover:
The basics of insulation
Vapour barriers, soundproofing and installation
Pros and cons of different insulation types
Cost estimate of insulation types
Let’s get started.

Contents

The basics

Sound deadening

Insulation types

Vapour barriers

Installation guide
Many of the products that appear below are either Amazon or eBay affiliate links. We earn a small commission on sales at no extra cost to you.

I N S U L A T I O N
The basics
If you’re wondering how to install camper van insulation, or which is the best insulation for your van conversion, we’ve got you covered. It can seem confusing at first, and you may have questions such as what is R value? and Do I need a vapour barrier? or How do I stop condensation in my van?
This guide will explain everything you need to know about van insulation to give you the knowledge you need to insulate your camper van.
We’ve tested out many different types of insulation across our two van builds, and while there is no one-size-fits-all answer we hope this guide will help you decide which is the best type of insulation for your project.

Our Bedford CF in the final stages of insulating, 2021
When undertaking a van conversion one of the first stages after rust treatment is insulation. This stage is very important and should not be overlooked, as we found out when insulating our LDV Convoy. Initially we left the floor and roof un-insulated, which made for some very cold winter nights with all of the heat we generated escaping.
Once we insulated the roof, we felt a notable difference almost instantly, and we have since learned the importance of insulation, something we practiced in our Bedford build (click here to watch how we insulated our Bedford CF).
The two main elements of insulating a camper van are the insulating material, and a sealed moisture barrier to prevent condensation. Sound deadening can also be added at this stage if required.
Here’s a breakdown of some of the terminology you’ll need to know and considerations to make when considering which insulation to use.
Heat transfer (radiation, conduction, convection)
Heat transfer is the way heat moves from one space to another, and requires a difference in temperature. Heat moves from the hotter space to the cooler space, i.e. if the inside of your van is warm, the heat will naturally emanate to outdoors where it’s cooler.
There are three modes of heat transfer: conduction, convection and radiation.
Conduction is when heat is transferred between two objects touching each other. This primarily affects the walls of your van, with the insulation acting as a barrier between the exterior metal and the interior.
Convection is how heat moves through a liquid or gas, such as the air inside your van. Heat rises upwards, so this is why it’s important to have a well-insulated roof to trap the heat inside, or built-in ventilation to allow the heat to escape to keep the interior cool.
Radiation is when heat is emitted from a surface or object, such as your van walls or windows. This is why you will need reflective insulation to keep the heat in or out.

Reflective insulation allows heat to radiate, keeping the warmth inside.
Thermal bridge
Simply put, a thermal bridge is an area where heat can escape, such as an area of cold metal between insulation panels. It reduces your overall heat efficiency, but having a van that is insulated with gaps is still better than having a van with no insulation at all. There are methods you can use to reduce this effect, which we’ll go into more detail about later on.
R Value
When researching van conversion insulation material you’ll likely have come across the term R Value. Simply put, R Value is a way to measure how well insulation resists the flow of heat. It is usually measured per inch, and the higher the number, the more insulating the material is.
So why not just use the highest R value insulation I can find and fill my van with it?
The answer to this question is of course space, which we’ll cover in the next section.
Thickness
Thicker insulation does not necessarily mean a higher R value. This is where the balancing act comes in, trying to find the most suitable insulation for different sized areas of your van. This will depend on the depth of your panels and how much interior space you can sacrifice.
Insulation such as PIR boards (like Celotex) tends to be between 25mm and 50mm thick, although you can go up to 100mm but this would mean losing 20cm off the width and height of your living space, which is a lot when you’re living in a box not much more than 6m2!
Rockwool and recycled insulation are a lot thinner and more flexible, good for stuffing into gaps, but the R-value is not as high as other types of insulation, which means you’d need twice as much to achieve the same amount of heat preservation.

PIR boards are a popular insulation type for van conversions.
Climate
The final consideration when planning which insulation to use in your van build is the climate you will be living or travelling in. This can be tricky if you plan to be covering long distances, and the climate of Northern Europe can be just as varied as that of North America.
This matters because it will determine whether your main aim is to keep heat in or out. If you plan to travel into cold countries or through the winter, you’ll want to go for thicker insulation and more of it. If you plan to travel through a range of seasons and climates, it’s best to insulate for the coldest areas you’ll be visiting. If you plan to stick to hotter climates, you’ll want thinner insulation and more reflective surfaces such as a windscreen cover.
A well-insulated floor can also protect against rising heat or cold.
Remember too, that a white or light-coloured van will reflect heat, while a black or dark-coloured van will absorb heat.

I N S U L A T I O N
Types of insulation
With all these different brands, materials, R values and prices, it can seem a bit overwhelming trying to choose the type of insulation that’s best suited to your van.
Here’s a breakdown of some common and less common insulations and their pros and cons.
All R-Values below are measured in m2K/W (metres square Kelvin per Watt). This is the metric (British) equivalent of R-Value, which is measured in metres squared as opposed to inches.
All costs to insulate a van are worked out based on the dimensions of an LDV Convoy (24m² total surface area including walls, roof and floor).

R Value of popular insulation types. Measured to UK standards.
Fibreglass insulation

PROS:
+ Cheap and easy to work with.
+ Decent R Value.
CONS:
− Absorbs water.
− Can cause skin and airway irritation.
Absorbs water: Yes
Cost to insulate a large van: £51 - £90 approx.
100mm thick: 2.27 R-Value
200mm thick: 4.5 R-Value
Fibreglass or Rockwool insulation is one of the most common types, usually used to insulate lofts in houses. It’s made from spun glass fibres, and can be irritating to skin and airways so take caution when using.
In terms of R-Value, it’s not the highest, but it is cheap and easy to work with, making it great for cramming into awkward sized holes and little nooks. It does have a tendency to absorb water though, so if you know your van is prone to leaks we’d advise wrapping it up in plastic bags (bin bags work fine) and sealing them with tape.
Recycled plastic insulation

PROS:
+ Easy to work with.
+ Doesn’t absorb water.
CONS:
− More expensive than fibreglass insulation with identical R Value.
− Takes up lots of space.
Absorbs water: No
Cost to insulate a large van: £175 approx.
100mm thick: 2.27 R-Value
200mm thick: 4.5 R-Value
Recycled plastic insulation, often spun from recycled plastic bottles, works much the same as fibreglass insulation; even the R-Values are the same.
The key differences however, are that it doesn’t absorb water, and unlike fibreglass it’s not irritating (to install or on your skin).
Make sure when you install it not to cram it too tight, as the air pockets within are what give recycled plastic insulation its heat-retaining properties.
PIR boards (Kingspan, Celotex)

PROS:
+ Lightweight and easy to install as panels.
+ Comes in many different thicknesses.
CONS:
− More expensive than other insulation options.
− Tricky to fill in small gaps and unusual shapes.
Absorbs water: No
Cost to insulate a large van with: £186 - 270*
*Using 25mm for walls and 50mm for roof and floor
25mm thick: 1.1 R-Value
50mm thick: 2.27 R-value
75mm thick: 3.5 R-Value
100mm thick: 4.5 R-Value
PIR boards (which stands for polyisocyanurate) are one of the best options for insulating a van for two reasons: they have a good R-Value, and they’re incredibly lightweight. Each board weighs no more than 1KG!
PIR is an umbrella term for rigid insulation boards made of thermoset plastic foam; they’re more commonly known by brand names such as Celotex, Kingspan and Retocel which are all fundamentally the same product.
PIR boards work great for large, flat areas that need to be insulated, and can be stuck onto walls using spray adhesive. The only downside is that they’re not great for filling in difficult to reach areas, although they can be cut down easily with a jigsaw and off cuts can be used for filling in small gaps.
PIR boards do not absorb water although a vapour barrier is still required when using them.
The price is also considerably more than fibreglass, but it’s worth it for the added heat retention and water resistance.
We insulated our entire Bedford van with Reticel boards and the difference in heat was immediately obvious. We got ours from a local builder’s merchants, so shop around for the best price as the below is a rough guide based on average prices online.
Sheep’s wool

PROS:
+ Lightweight and naturally hydrophobic.
+ Great for stuffing in awkward spaces.
CONS:
− More expensive than other insulation options.
− Not easy to work with.
Absorbs water: No
Cost to insulate a large van: £117 - £156 using Thermafleece / £252 - £840 using bagged sheep’s wool*
50mm thick: 1.43 R-value
*This estimate is based on a price of between £3 and £10 per KG and an average covering of 3-4kg per m2 as recommended. Locally-sourced wool will likely be significantly cheaper than buying by the kilo on eBay so prices are a rough estimate.
In terms of insulation, sheep’s wool is a bit out there and not so commonly used.
That said it has one of the highest R-Values on this list, and is naturally hydrophobic and lightweight. Do you see sheep shivering in a field in the rain? No. And how warm do you feel wearing a wooly jumper? Now imagine transferring that warmth to a van.
All of this aside, sheep’s wool is a lot trickier to work with, especially when insulting large, flat areas. Companies like Thermafleece Cosywool provide sheep’s wool insulation in pools which does help with installation, or you can buy it loose in bags from your local farm (check Facebook Marketplace for people selling wool locally). It works great for stuffing into little nooks and crannies and it’s a material we will seriously be considering for our next van build as a sustainable alternative to plastic-based insulation.
Spray foam insulation

PROS:
+ Great R-Value.
CONS:
− Lots of preparation required.
− Can be difficult to apply.
− Expensive.
Absorbs water: Depends
Cost to insulate a large van: £400 - £600 estimate
Open cell 25mm thick: 3.7 R-Value
Closed cell 25mm thick: 7 R-Value
Spray foam insulation is a divisive choice when insulating a van conversion. The extra prep involved in masking off areas that aren’t to be insulated, and the difficulty in applying and removing the foam puts many people off.
That said it is a highly insulating material with an R-Value of up to 7 depending on how thick you apply it, and is also light in weight and gets into every last gap. The main downside is the cost to spray an entire van, as it is generally applied by a professional at a starting cost of £23/m due to its messy and unpredictable nature, but prices will vary depending on your local supplier.
You may also be wondering what the difference is between open cell and closed cell spray foam insulation:
Open cell - Allows air pockets to trap heat, but also allows water in. It remains flexible after drying thanks to these air pockets and is lightweight, but does not trap heat as well as closed cell.
Closed cell - Dense material, doesn’t allow water and air to penetrate thereby creating a built-in vapour barrier and a higher R-Value.
Actis H Control Hybrid

PROS:
+ Lightweight.
+ Vapour barrier included.
CONS:
− Expensive.
Absorbs water: No (if sealed at ends when cut)
Cost to insulate a large van: £288 - £350
Open cell 25mm thick: 1.9 R-Value
Actis H Control Hybrid is a bit of a unique product that was recommended to us by our local builder’s merchants. We used it on our LDV Convoy roof and the difference was instantly noticeable.
H Control Hybrid is an insulating material and vapour barrier all-in-one, and is lightweight and well-insulating, although it does not have one of the highest R-Values on this list. If cutting down into panels it’s essential to seal the ends with tape or the vapour barrier will be essentially useless.
The downside to this product is its high cost, and if saving money is of the essence to your van build this material probably isn’t suitable to insulate an entire van with.
Extruded polystyrene

PROS:
+ Lightweight.
CONS:
− Environmentally damaging.
− Low R-Value.
Absorbs water: Depends
Cost to insulate a large van: £145 - £165
50mm thick: 1.35 R-Value
Extruded polystyrene is not commonly used in van conversions and for good reason. That said, we’ll go through its benefits first.
Extruded polystyrene is lightweight, moisture resistant and has a high compressive strength so it works for floors without a sub-frame.
Unfortunately one big drawback to using extruded polystyrene is that it’s not very environmentally friendly at all, as the process to make it releases hydrofluorocarbons. Not exactly something you’d want to be breathing in in your living space. The R-Value is also one of the lowest on this list, so you’d need many layers to create a good layer of insulation. Unless you only want some light insulation if you plan to travel to exclusively hot climates, polystyrene insulation is a waste of money.
You may also have noticed that there are two types of polystyrene insulation- here’s the difference between the two.
Extruded polystyrene (XPS)- Doesn’t absorb water, highly compressed for better insulation.
Expanded polystyrene (EPS) - Allows water to pass through, requires more boards for same effect.

I N S U L A T I O N
Vapour barrier
If you’re scrolling impatiently through Google, asking yourself do I need a vapour barrier in my van? the answer is almost always yes.
We found ourselves in exactly the same situation not too long ago, scratching our chins and wondering if Reticel’s built-in moisture barrier was a substitute for an actual vapour barrier. After much research, the answer was decidedly no.
The only insulation that does not require an additional vapour barrier are spray foam insulation and Actis H Control Hybrid. While other types may be hydrophobic that doesn’t mean that moisture won’t still collect on the surrounding surfaces.

Unlike most insulation types, Actis H Control Hybrid has a built in vapour barrier.
Differences in temperature create condensation; if you’ve ever come back to your car after a cold night you’ll have noticed that the glass inside is covered in moisture. This is because warm air releases its moisture on contact with a cold surface.
As you live, breathe and cook in your van, these things also create moisture which rises into the air and condenses. By separating your living space from the cold, bare metal and glass of your van’s exterior, you reduce the frequency of condensation.
Condensation can cause a range of problems from encouraging mould growth to affecting people with breathing conditions like asthma. No one likes waking up to wet van windows on the inside (or even ice), but condensation is an unfortunate reality of van living, and as such you’ll never be able to inhibit it completely.

Condensation is an inevitable part of van living but the effects can be reduced using a good vapour barrier.
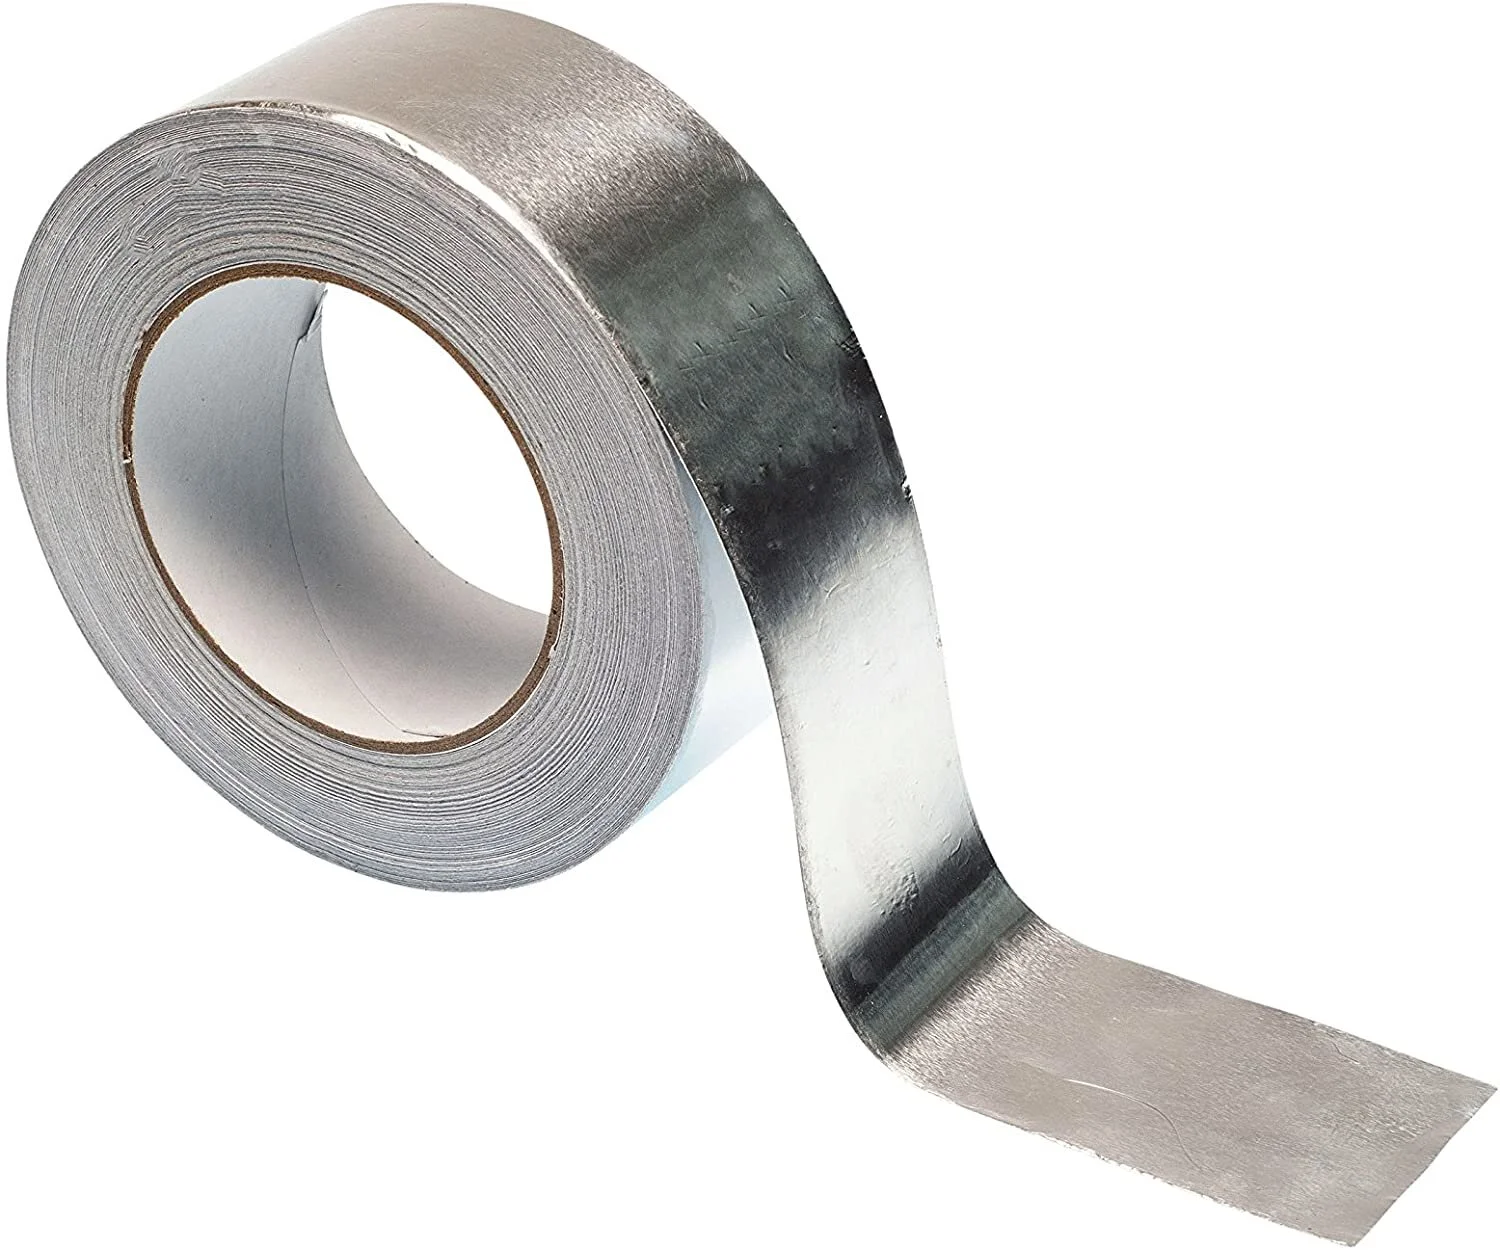
A typical vapour barrier used in a van is foil bubble insulation, which is cheap, lightweight and has its own insulating properties. In addition to this flashing tape is used to seal any gaps between the foil insulation to create a completely moisture-tight barrier.
Almost all types of insulation in a van build require a vapour barrier. Fortunately they’re relatively inexpensive and easy to install.

The guide below covers how to install a vapour barrier in a van; we also have a video on YouTube about how we insulated and vapour barriered our Bedford CF.

I N S U L A T I O N
Sound deadening
Soundproofing is not essential to a van conversion; it’s completely up to you as to whether you think you’ll need it. You may be a light sleeper, disturbed by even the slightest noise outdoors, or planning to spend a lot of time in cities where the noise never really stops. Or you may prefer to keep a vigilant ear on the comings and goings outside your van.
There are many sound deadening products on the market, too many to choose from in fact, but the basic principle is the same: vibrations from outside noise resonant through the metal panels of the van and are amplified by the space inside.
You’ll notice that your van is significantly less echo-y when it has furniture inside, but sounds like engine noise and people talking can still pass right through the walls and disturb your peace and quiet.
Before we get into materials, an important note to make is that only 25% of your van walls need to be sound deadened, and in fact anything over 33% is simply a waste of money, as research has proven that any further coverage has no additional soundproofing benefit.

Mass loaded vinyl is an effective and popular sound deadening option for van conversions.
Mass loaded vinyl

Mass loaded vinyl is a commonly used sound deadening material for two simple reasons: it’s cheap, and it works. It weighs 5–10 kg per square meter, and it can reduce sounds by up to 25db.
Butyl sound deadening

Butyl sound deadening is used in products such as Kilmat and Noico, and was around long before mass-loaded vinyl was introduced to the world of soundproofing. It too acts as a noise dampener, and generally weighs 2 - 4kg per square meter. You can also purchase an entire Dodo sound deadening kit specifically designed for camper vans if you want to take the hassle out of installation.
Closed cell foam

Closed cell foam is the sound deadening material most commonly used by audiophiles in recording studios and the like. It is not so commonly used in vehicles because it absorbs sound rather than reduces vibrations. So it’s great if you want to dampen outside noise like voices, not so great for reducing vehicle noise. Its main advantage is that it’s significantly lighter in weight than the other two mentioned materials.

I N S U L A T I O N
Installation guide
Finally, here’s our handy step by step guide on how to install camper van insulation.
We won’t lie, we were insulation novices when we built our LDV, stuffing fibreglass into any old crack and leaving it at that, and we paid the price for it on subzero winter nights in the mountains later on.
That said, our Bedford CF project was a vast improvement, and as such this guide will be largely based around how to insulate a square, horse-box style camper, but we’ll go through the different types of insulation and where you can apply them for more curved vans too.
Before you begin the insulation process, make sure you’ve treated any areas of rust, and now may also be the time you want to install wiring or plumbing so it’s out of sight and hidden, although this can be done after insulating before fitting the walls.
Step 1: Installing sound deadening
If you plan to include sound deadening in your van, this is when you’ll want to apply it. Cut out squares of between 30cm and 50cm wide and stick them to your van walls using spray adhesive. You can use a hard object such as a screwdriver handle to tap the various panels and listen to which areas make the biggest boom; this is where you’ll want to apply your soundproofing material.
Aim for up to 30% coverage, but any small amount will make an audible difference.

Step 2: Creating a batten frame
This step largely applies to insulating a van floor, however it can also be used on the walls like we did in our Bedford.
The process is simple: cut down pieces of wooden batten to the length of your van’s living area and lay them on the bare floor, leaving at least a 30cm gap between them. If you are using 25mm insulation your batten will need to be 1” high, and if you are using 50mm insulation your batten will need to be 2” high. We laid our 2” x 1” batten on its smaller side to give it the height required.

Lucy laying the floor batten in our Bedford CF conversion.
Next, cut down some widths of batten that will fit in between the lengths and alternate these as you lay them out. This step ensures proper weight distribution once you’ve laid your flooring down on top. One batten per section will be enough, and we recommend using a right angle tool to ensure they are laid evenly and straight.
Stick these down with adhesive; as always we recommend polyurethane adhesive as we had some issues with using grab adhesive (it melted off and didn’t stick at all). If necessary, weight them down overnight to ensure maximum adhesion.
Step 3: Insulating the van floor
Insulating your van floor is absolutely essential for a live-in vehicle. It stops cold rising up from outdoors and keeps your feet toasty too.
For our Bedford project we used Reticel PIR board insulation on the floor, walls and roof. With these large flat areas to cover it made sense to use a firm material as opposed to something flexible like fibreglass, but you could use whatever your preferred insulation is.
We cut down the PIR boards to fit each section in between the batten on the floor and numbered them accordingly. This step isn’t necessary if you made sure all your sections were equal sizes and angles, but ours weren’t.
Slot these pieces of insulation in between your batten and you are now ready to lay down your flooring, plywood or otherwise. It’s not necessary to glue these if they are a snug enough fit.
Step 4: Insulating the walls
Insulating your van walls is the most important and time-consuming part of the insulation process, and requires different approaches to different areas of a vehicle.
For large, flat areas we recommend using PIR board, but any other type of insulation works too. Cut the boards down to size and stick them with spray adhesive, but for flexible insulation like fibreglass, recycled plastic or sheeps’ wool you may want to use duct tape and material like plastic bags to hold the insulation in place, or skip right to step 6 and apply the vapour barrier to keep everything together.
For hard-to-reach areas like hollow metal struts, door frames or any other oddly shaped bits of your van, stuffing flexible insulation into these areas is the only way to insulate them, which can be done with the aid of a long tool.
If your van’s struts protrude out from the panels it’s a good idea to use a thickness of insulation that will be level with the strut for maximum insulating properties and also for saving space.
Step 5: Insulating the roof
This step is super important because heat rises, and as such you will lose most of the heat inside your van via the roof.
This process is largely the same as insulating your walls, but with the added difficulty of gravity. You will most certainly need some kind of spray adhesive or tape to hold your chosen insulation up until you are ready to build your van’s ceiling. PIR boards can be wedged nicely between roof struts if cut accurately to size. Flexible insulation can be held in place using sheets of plastic like bin bags.
In our LDV we found Actis H Control Hybrid was extremely effective at insulating our roof and was relatively easy to apply due to its light weight, and we used less than one roll to insulate the entire roof.
In our Bedford we used 50mm PIR boards which were easy to stick to the aluminium using spray adhesive. The tricky part was ensuring we had enough struts to attach the plywood roof to, and by dividing our roof into smaller sections it meant we used smaller panels of insulation which in turn adhered more effectively to the roof. The bigger the area of insulation you use the harder it will be to stick to the ceiling, so bear this in mind when planning.
Step 6: Adding a vapour barrier
Once all of your insulation is in it’s time to apply a vapour barrier before covering the whole lot with your chosen wall / roof / floor material. This process can be a little tedious and time-consuming but absolutely necessary.
Foil bubble insulation is the cheapest and best solution for this, and will help keep heat inside your van too. This usually comes as one long roll which you will need to cut down into sections and stick on using something like duct tape. The important thing to remember when applying a vapour barrier is not to leave gaps which cold and moisture can seep through. The best way to do this is to apply flashing tape which is like sticky tin foil and is usually used in roofing. One thing we learned when insulating our Bedford is that flashing tape cannot be used to stick foil bubble wrap up, as it only really sticks to foil insulation and nothing else, so it’s really only for covering gaps. Apply this to joins between the foil bubble insulation, in corners and onto any bare metal surfaces that you weren’t able to fully insulate.
Once all of these steps are complete you can then move onto installing your walls and flooring.
For a video guide on how to insulate a camper van check out our episode about how we insulated and vapour barriered our Bedford CF on YouTube.